High Gain
Hy-Tower
Project
High Gain Hy-Tower project is just starting.
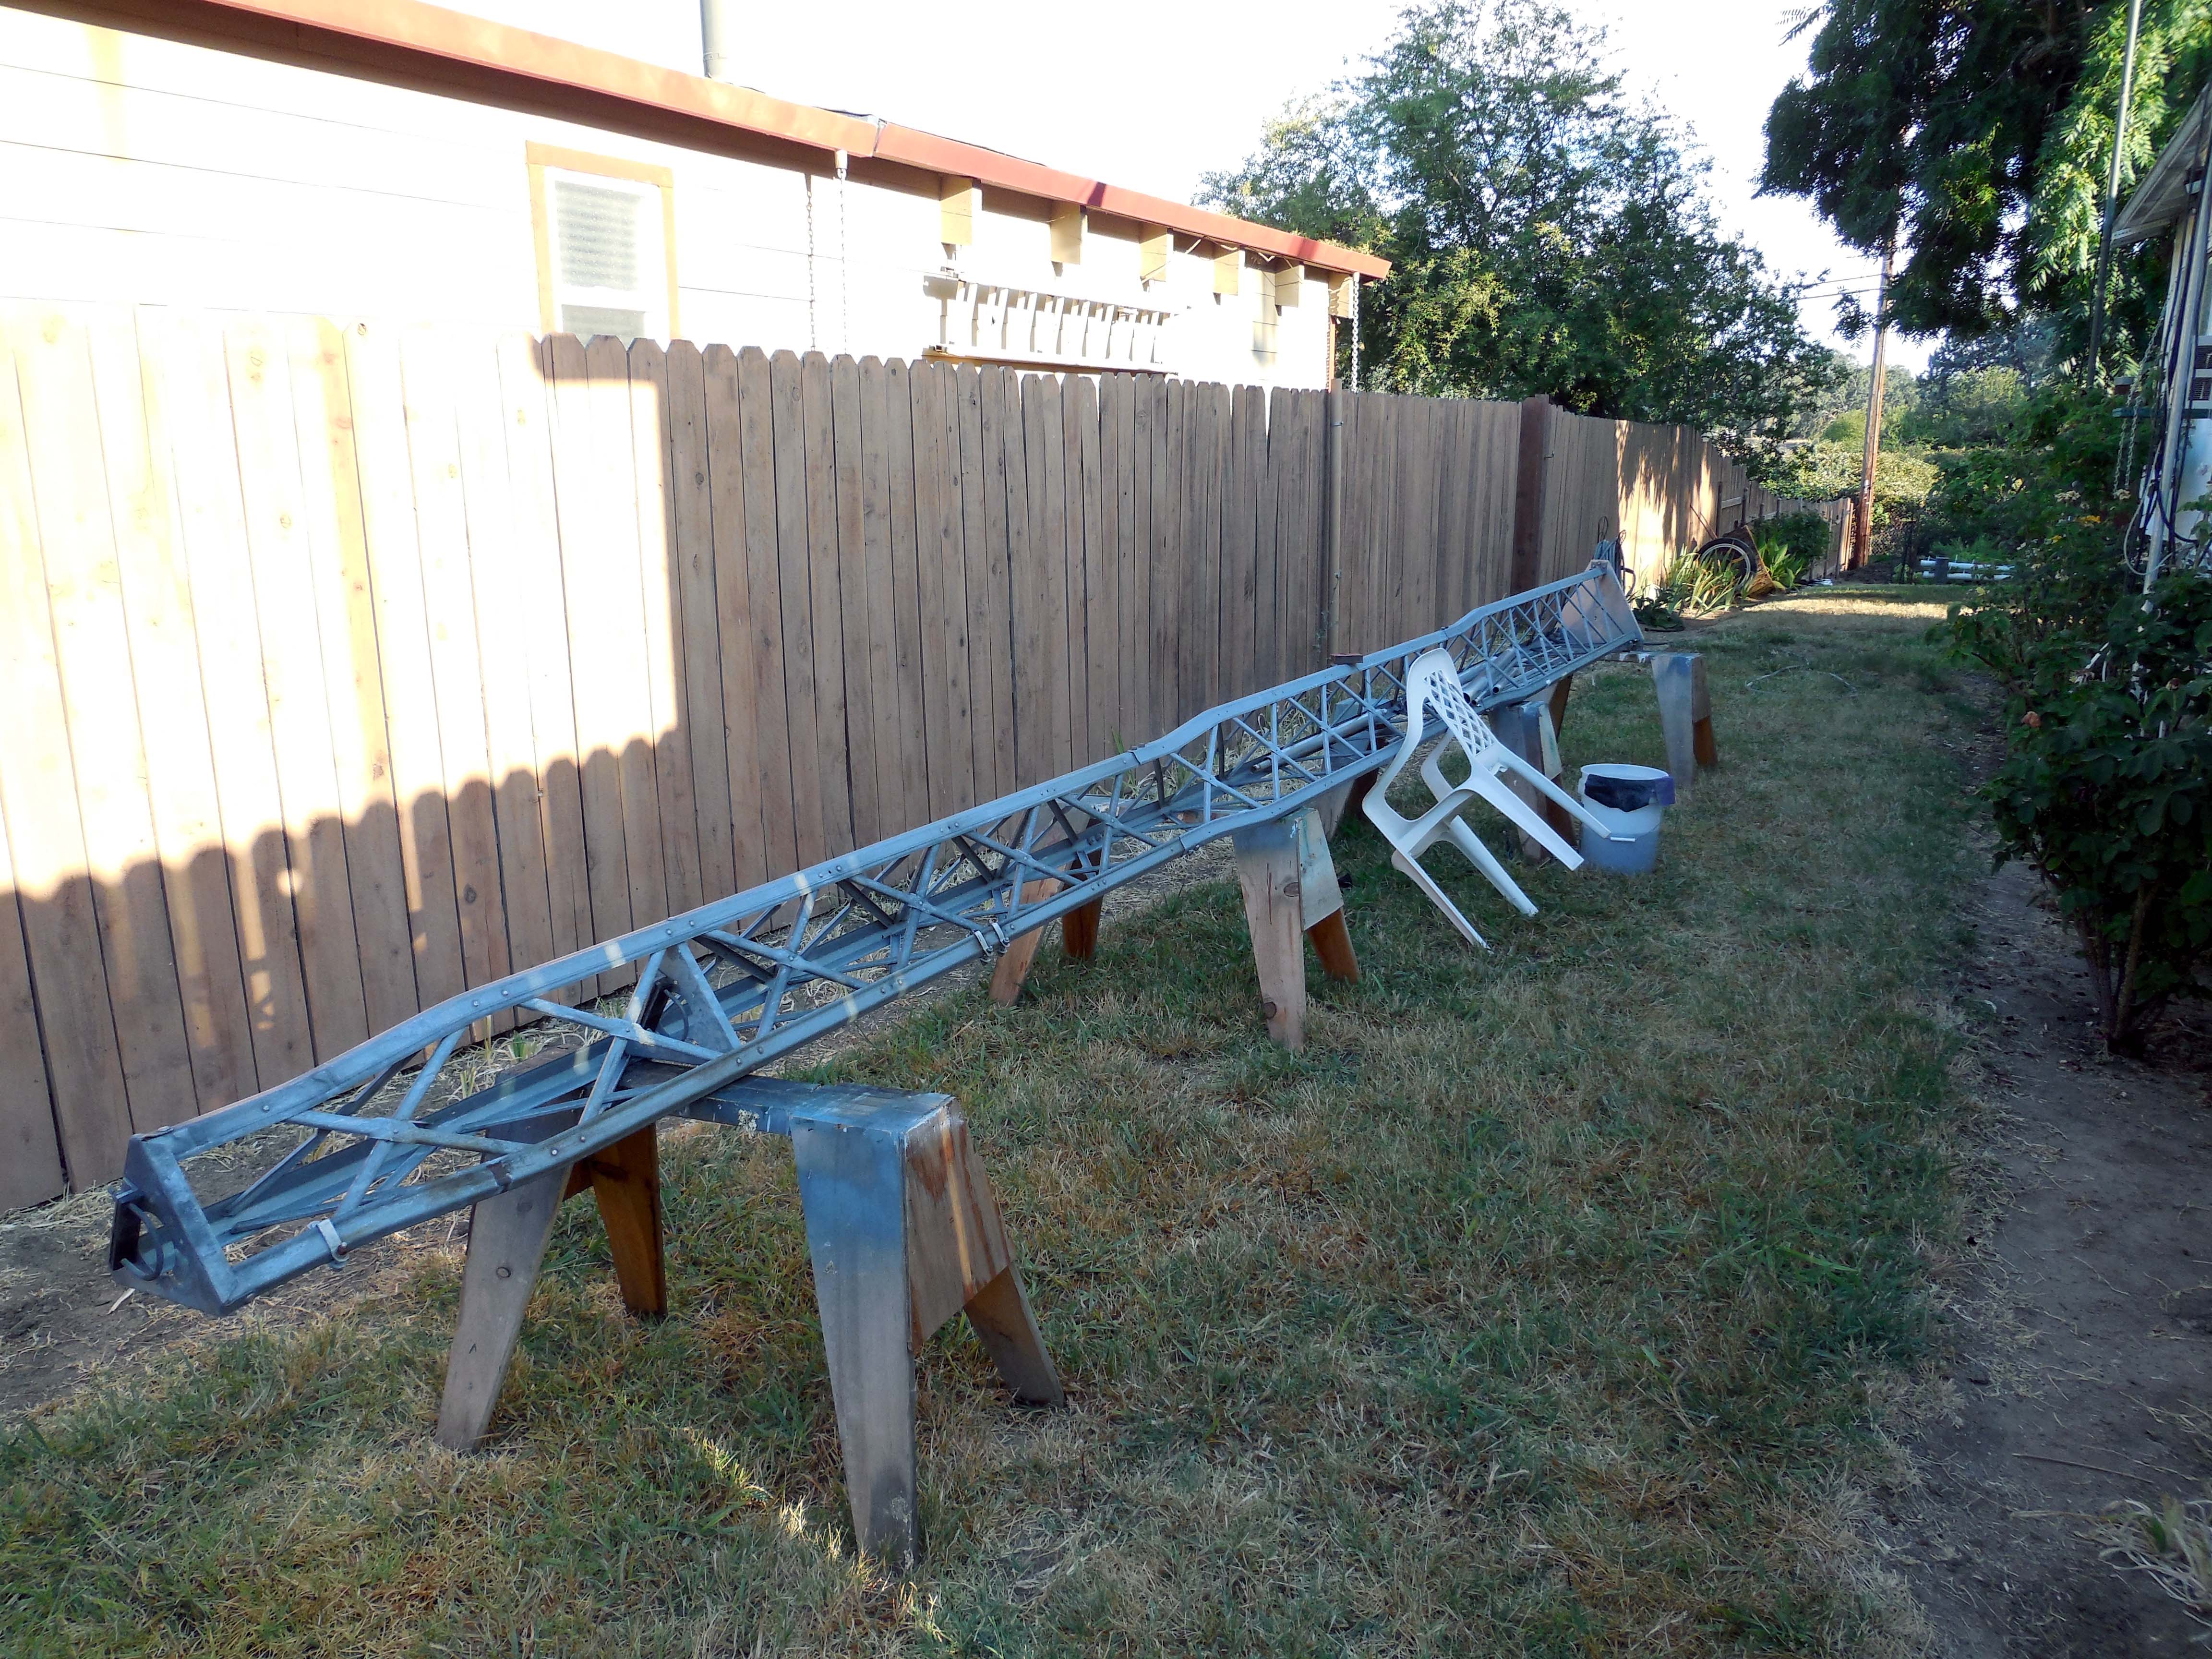
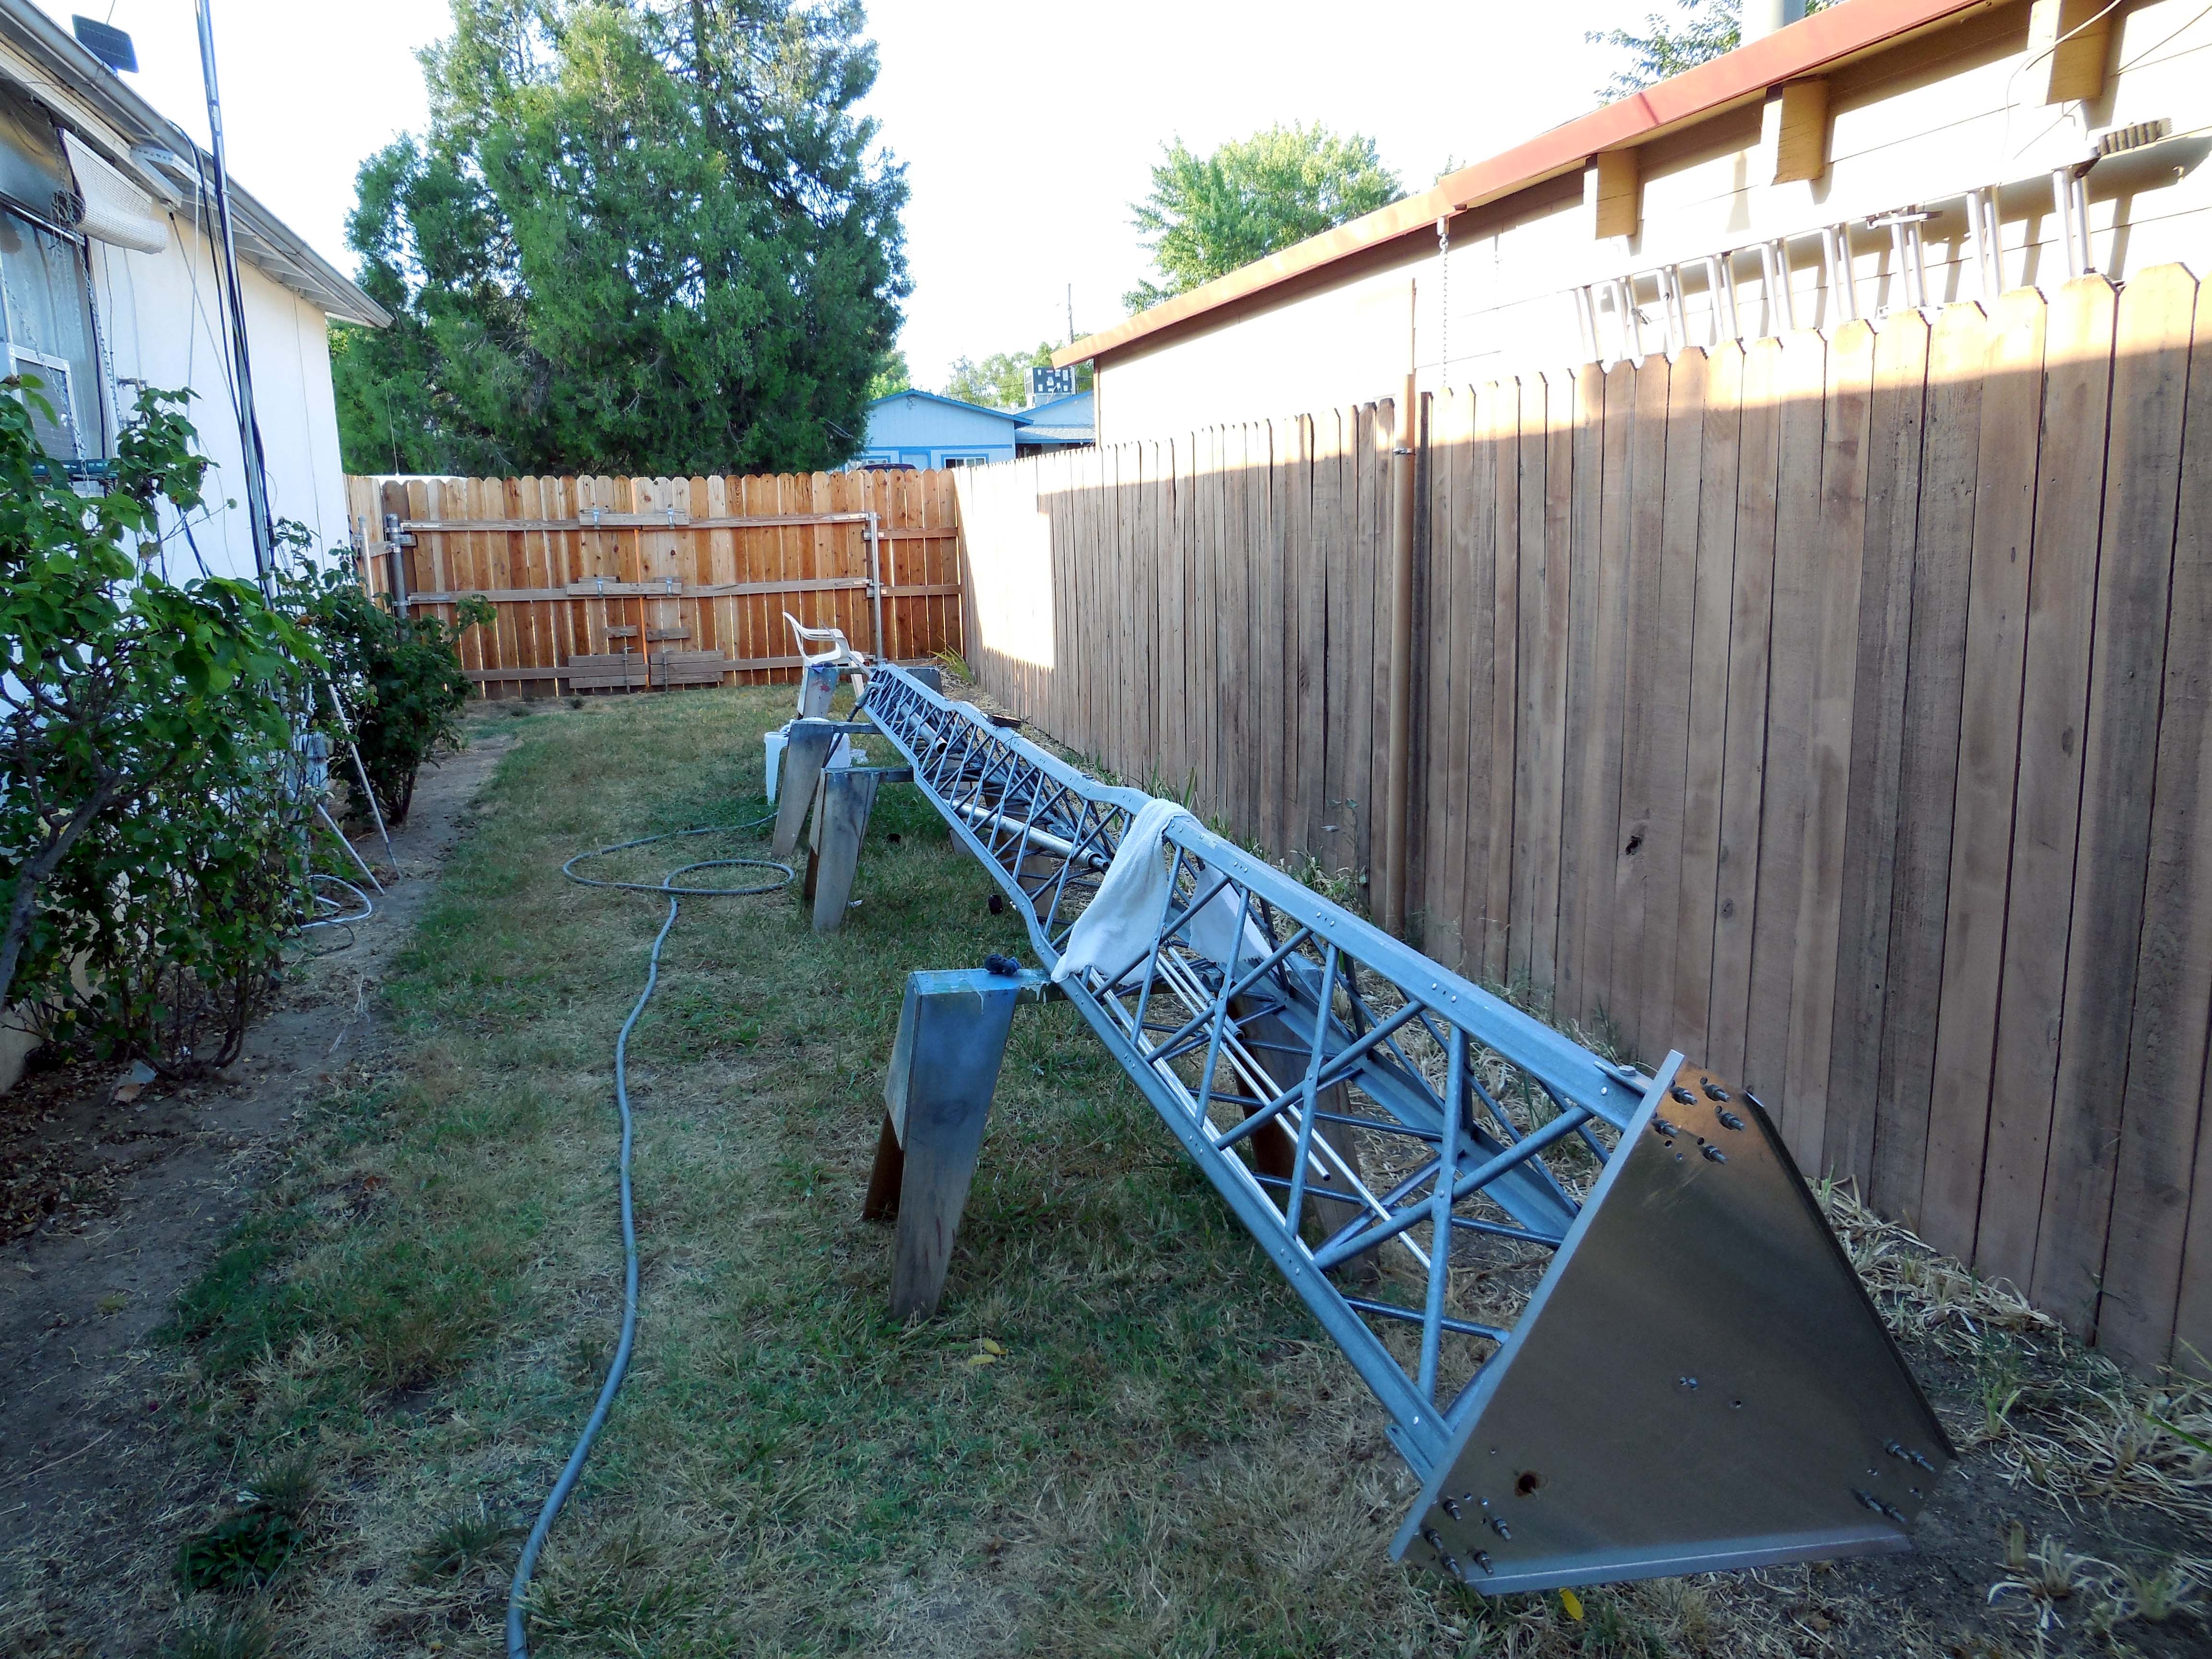
I put the tower sections together to clean it up.
I need to make a base and get all new hardware.
This came from the bay area a few weeks ago.
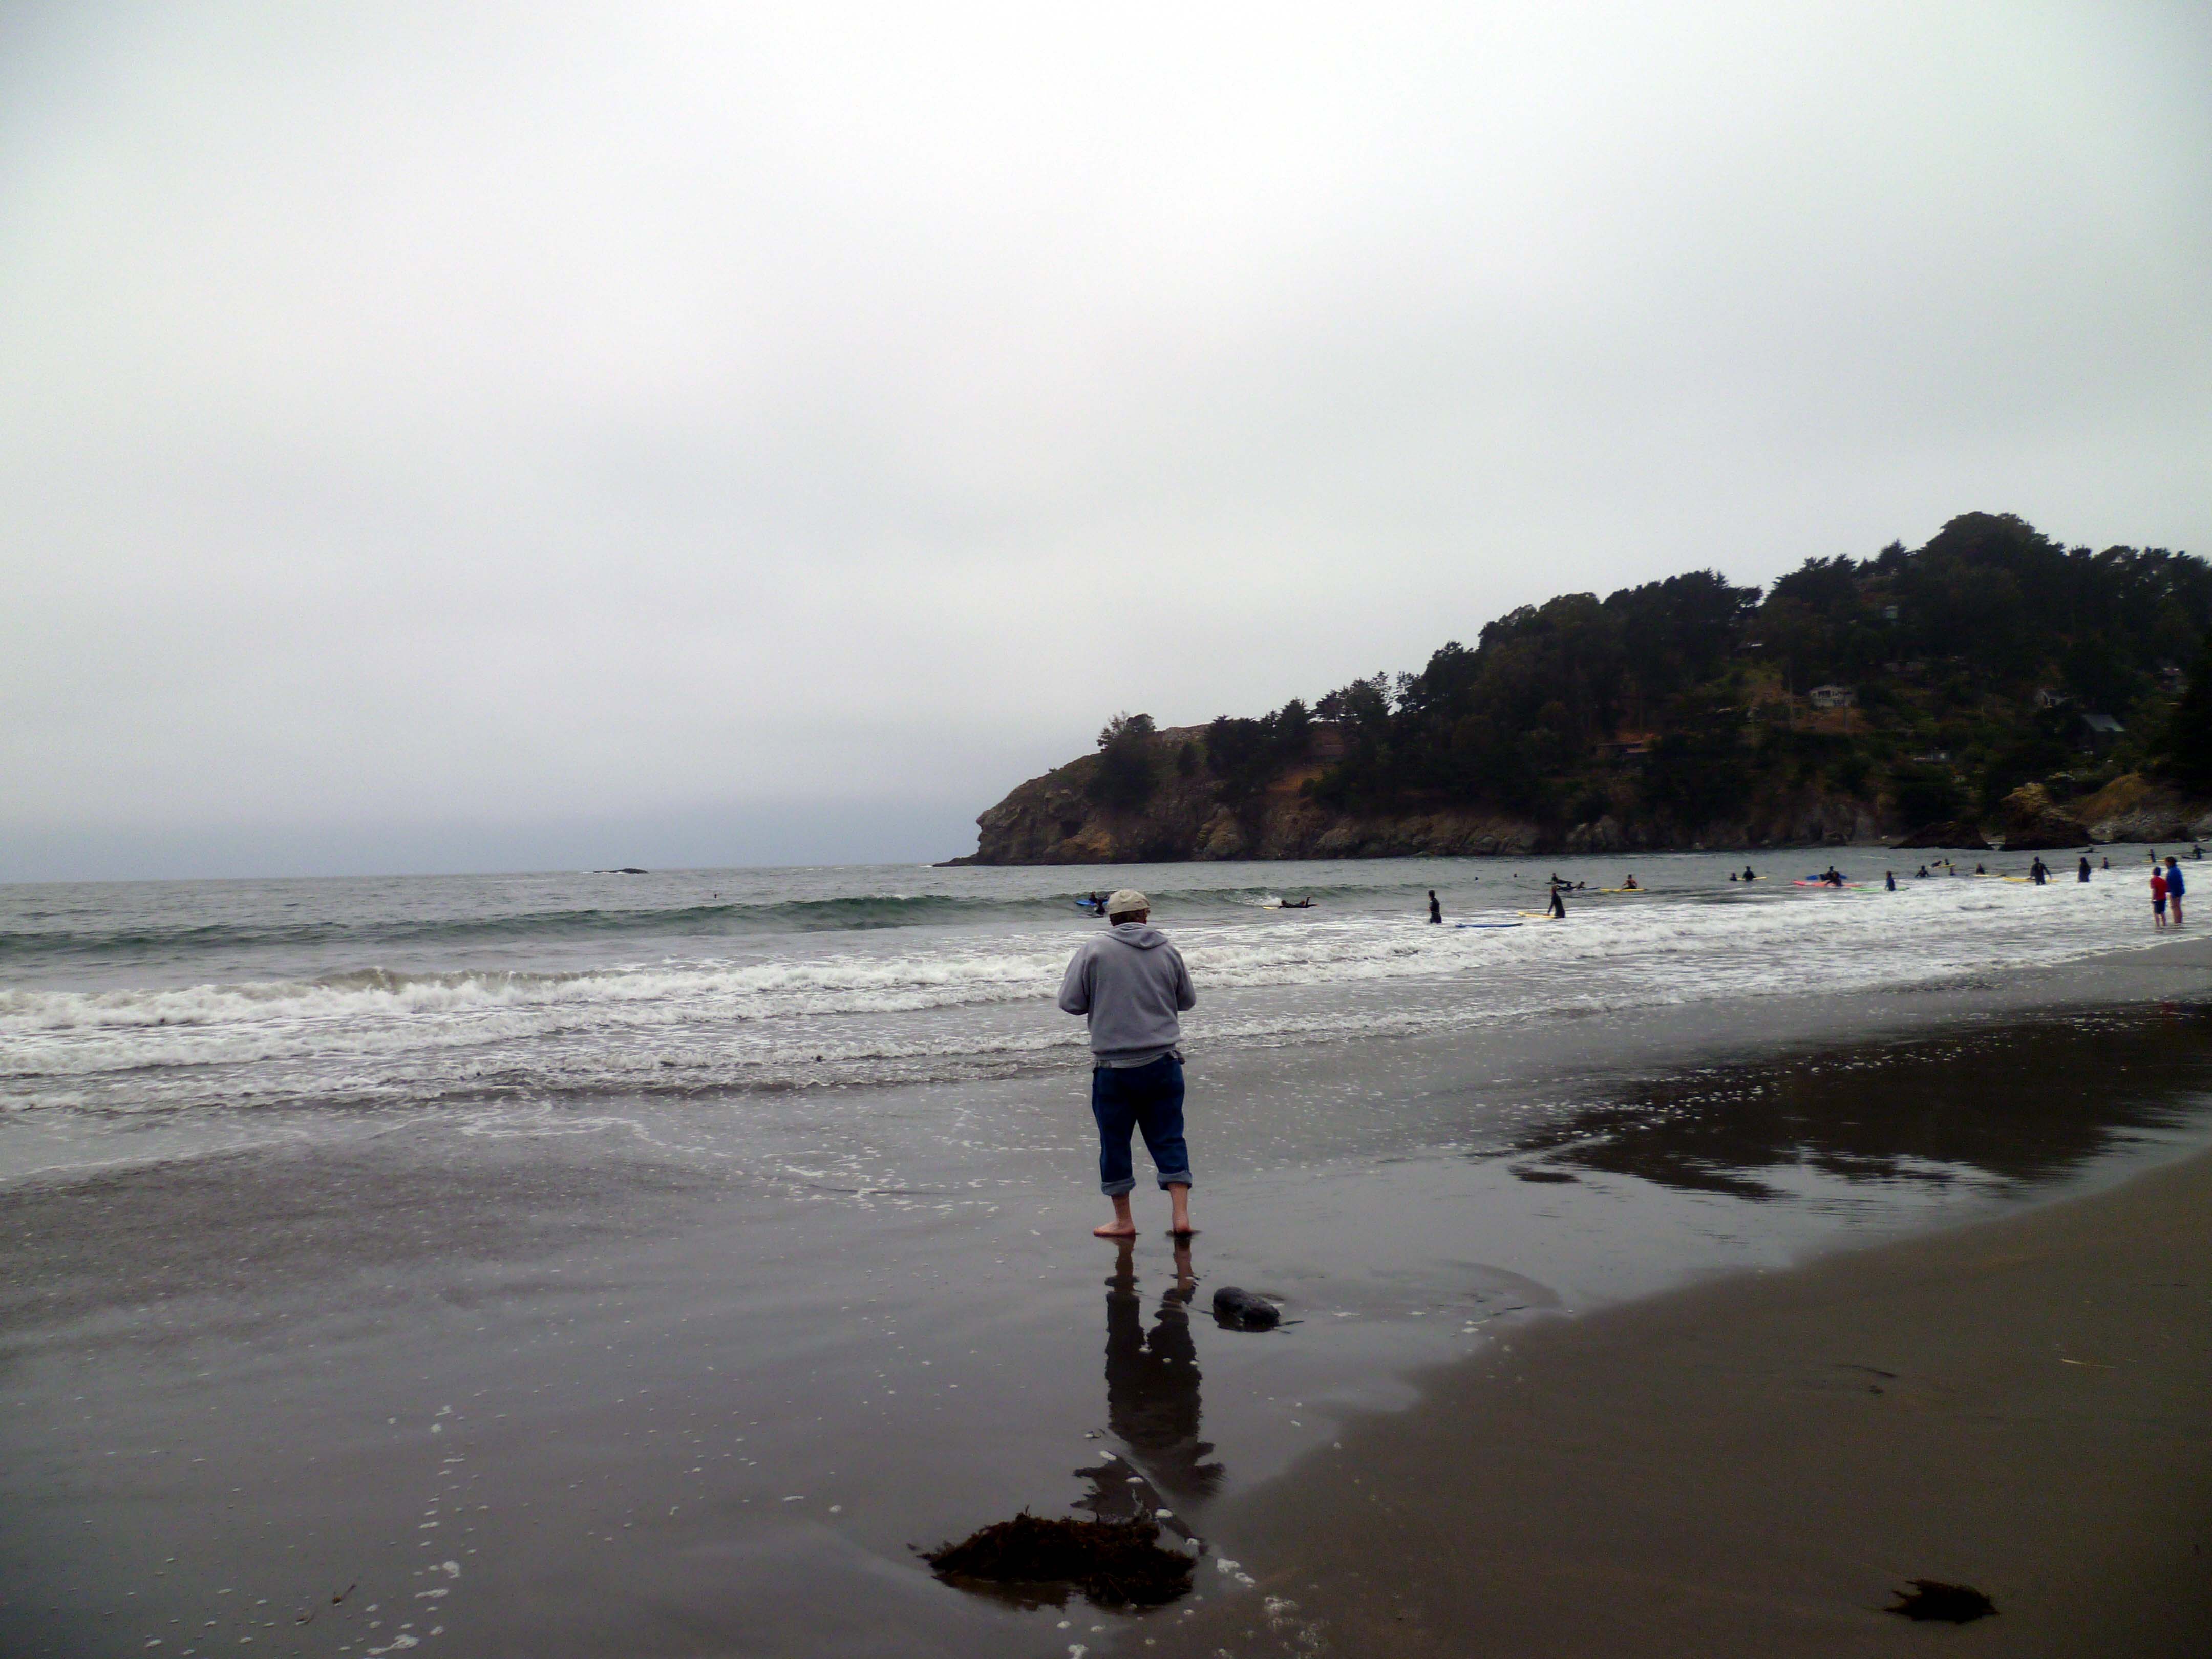
Just because we were near the beach we just had to go and get lunch and play a bit.
Me playing in the surf after a hard day loading the antenna
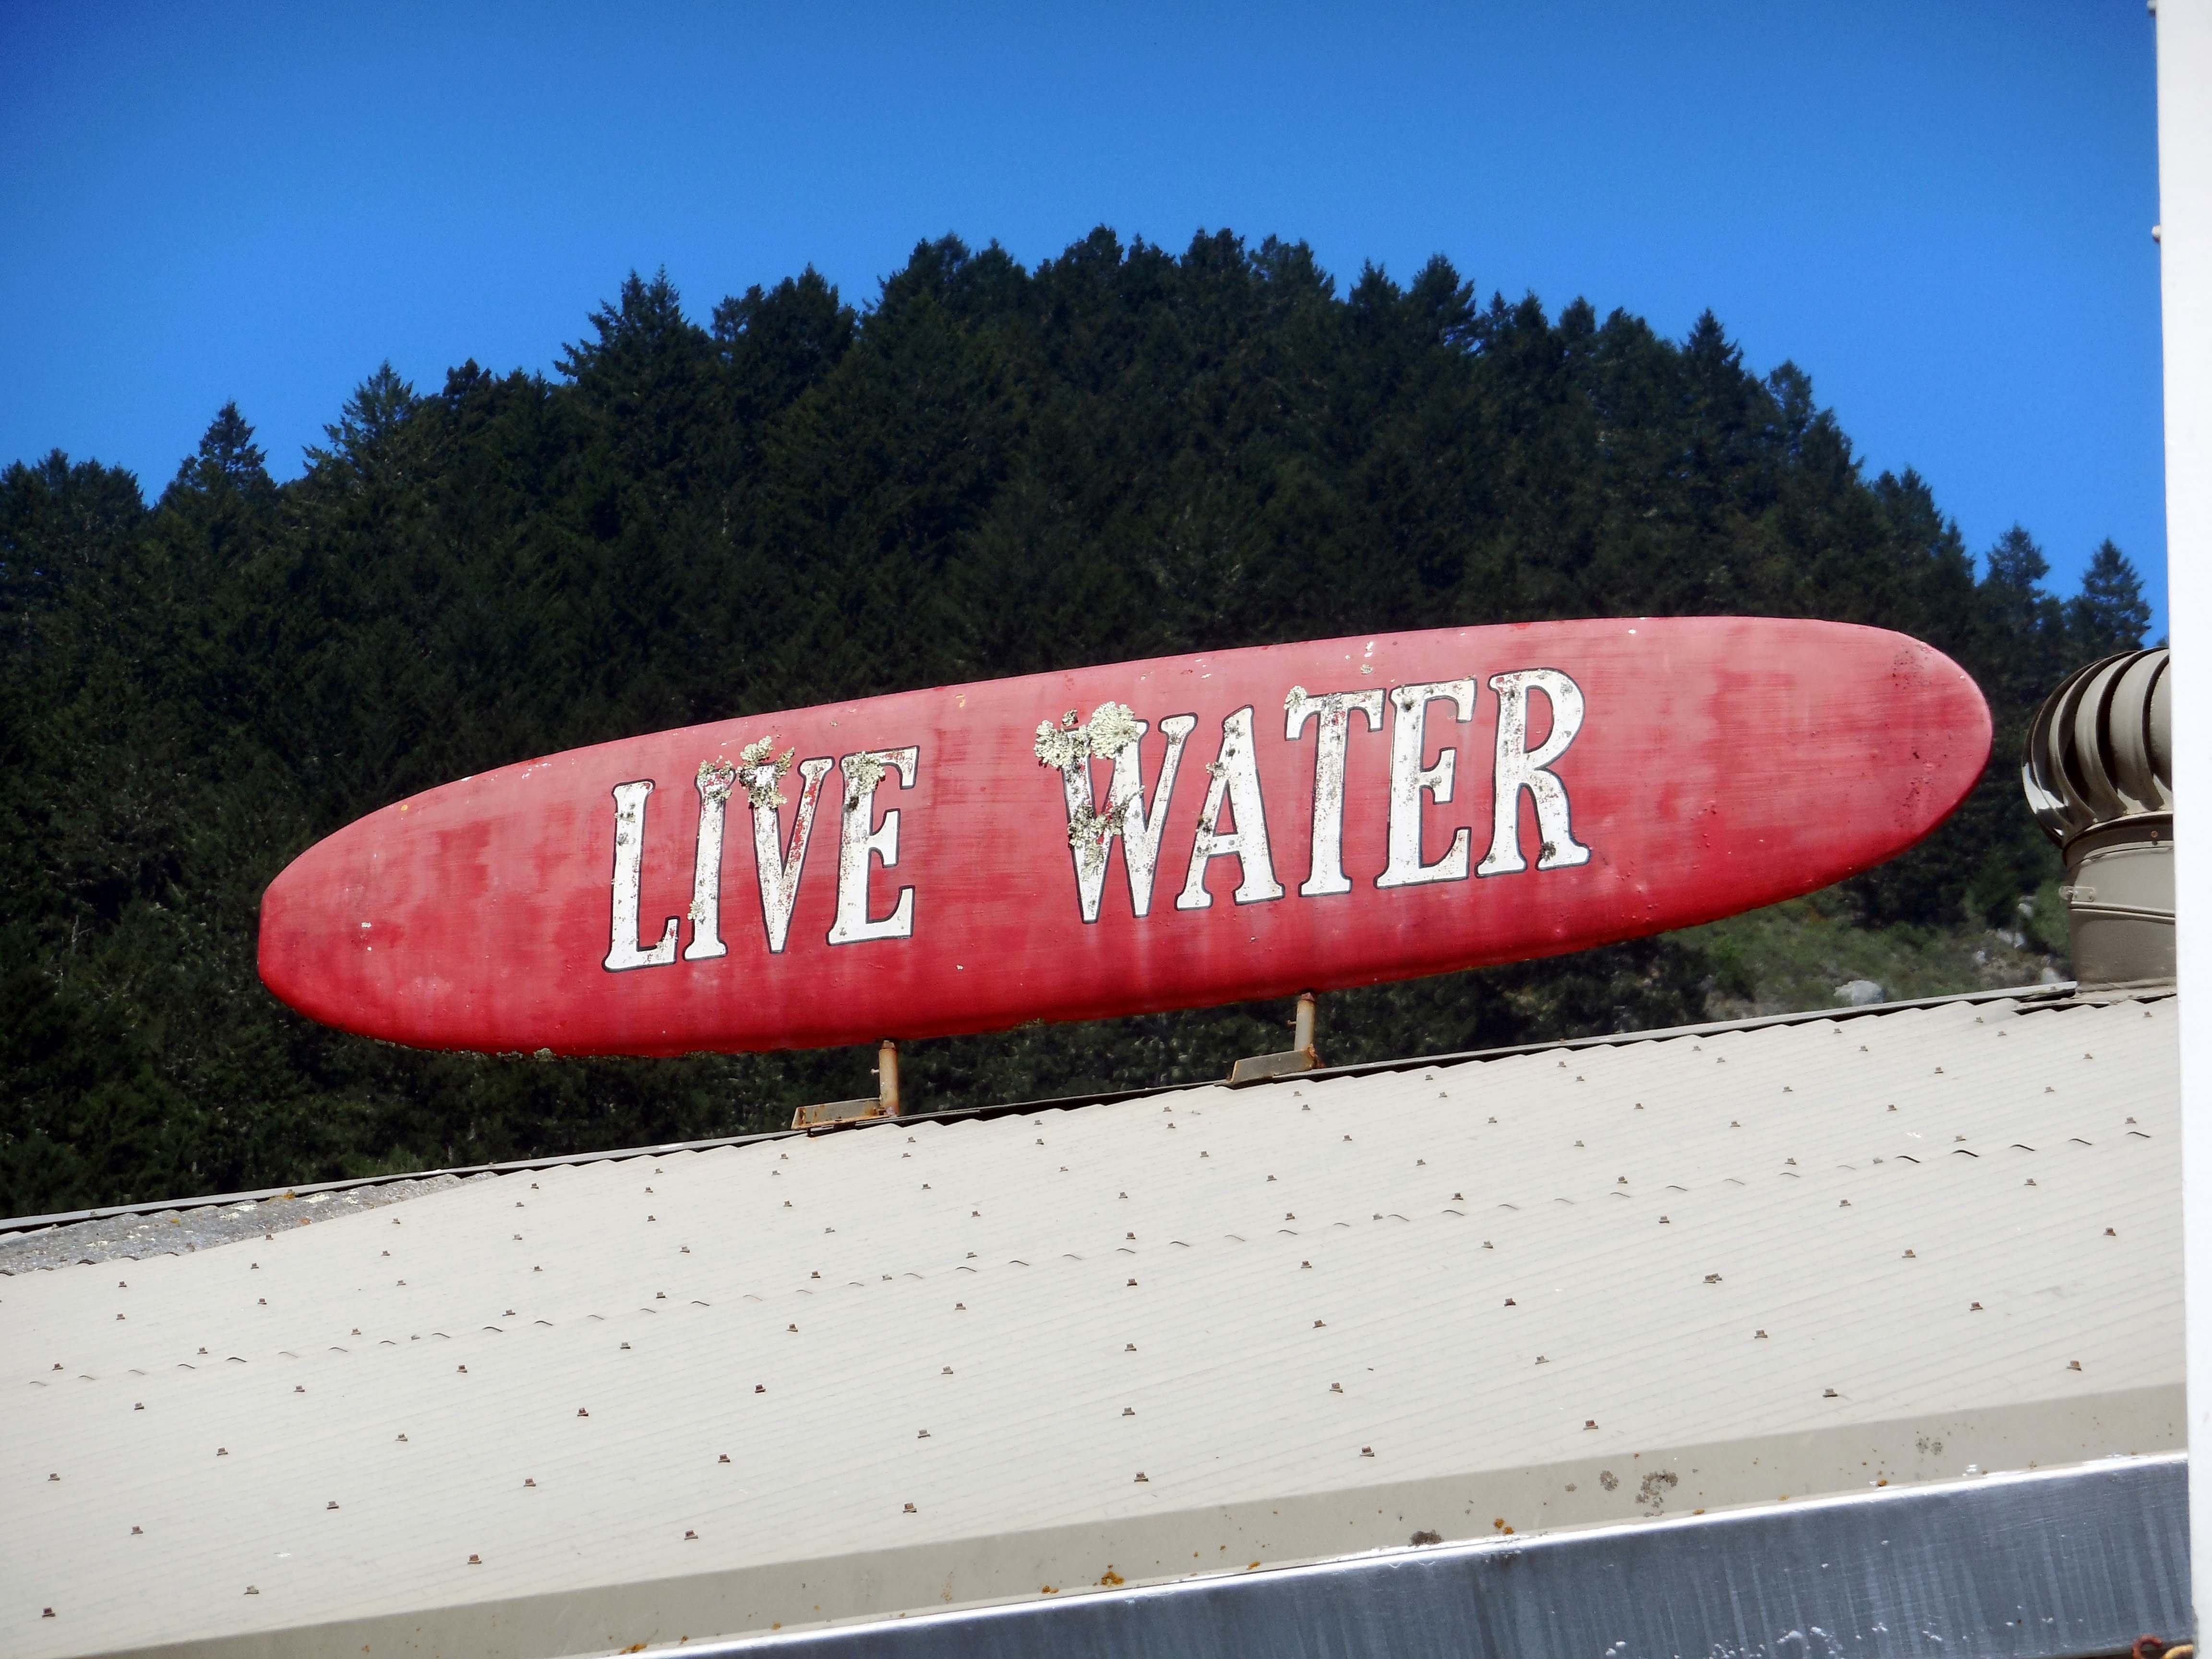
The Surf Board was next to where we had lunch at the Beach
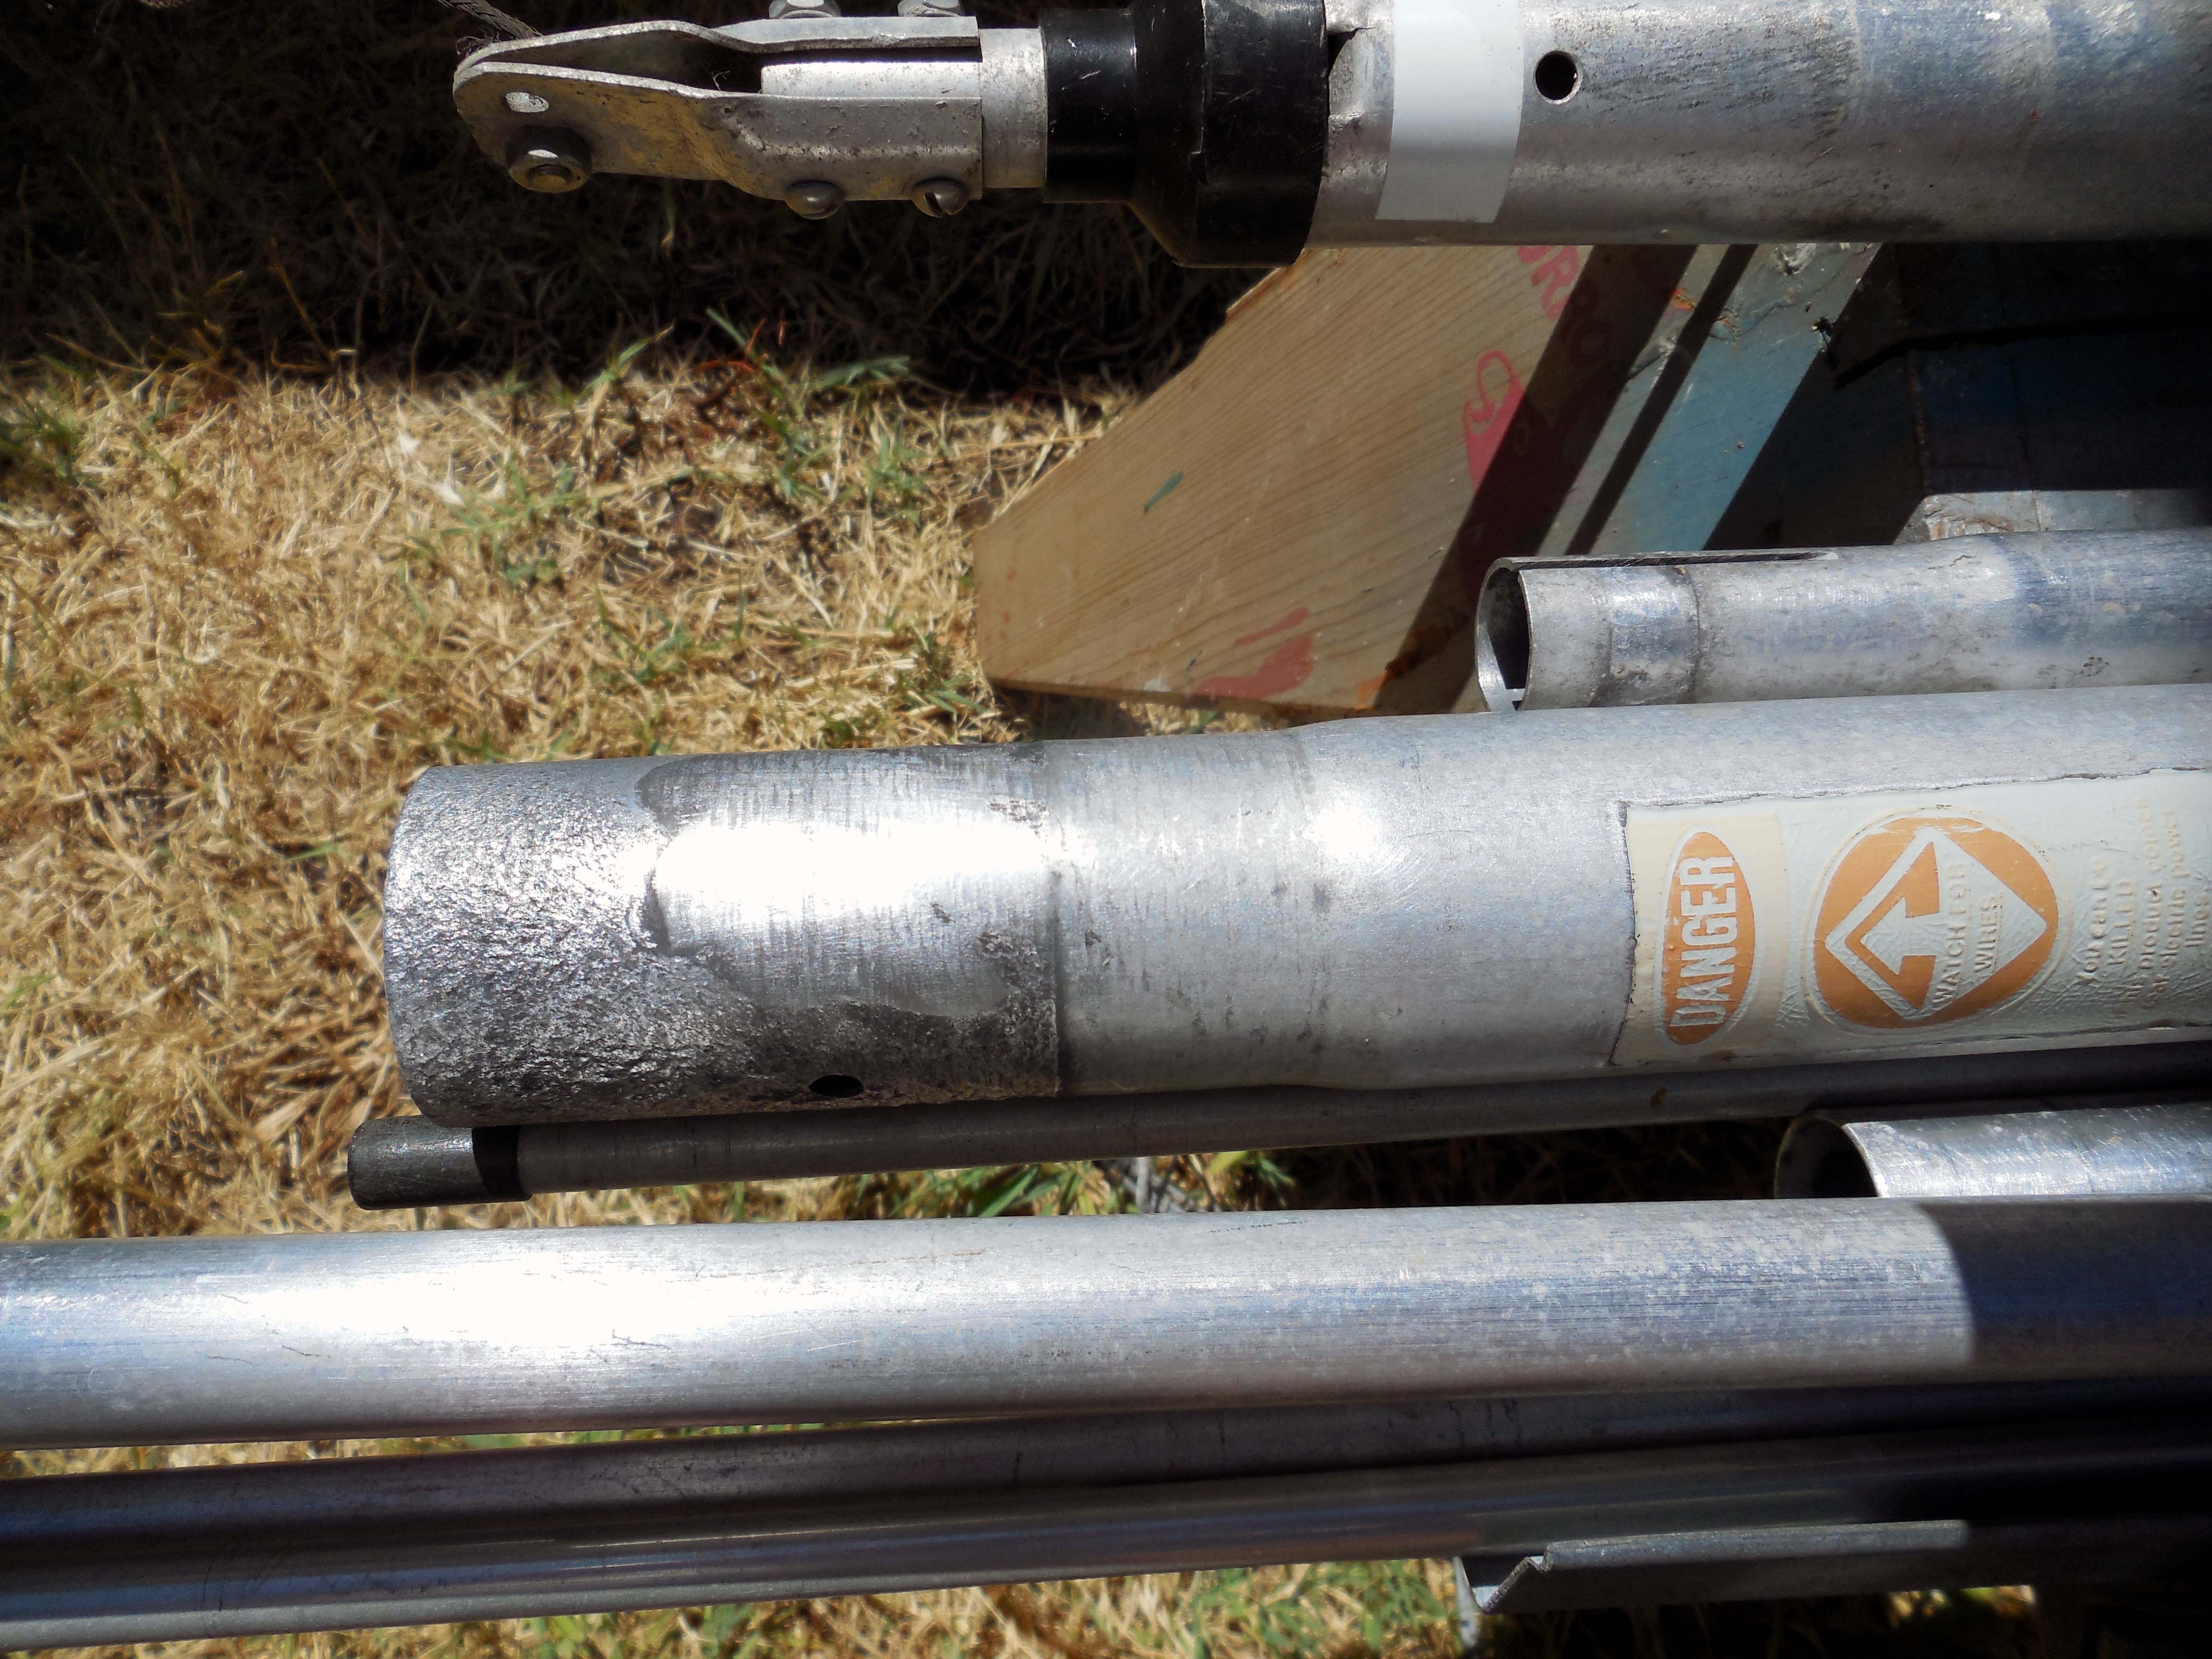
One pile of parts
one chair, a bucket of water and SOS pads.
The SOS pads are one good way to clean of the parts
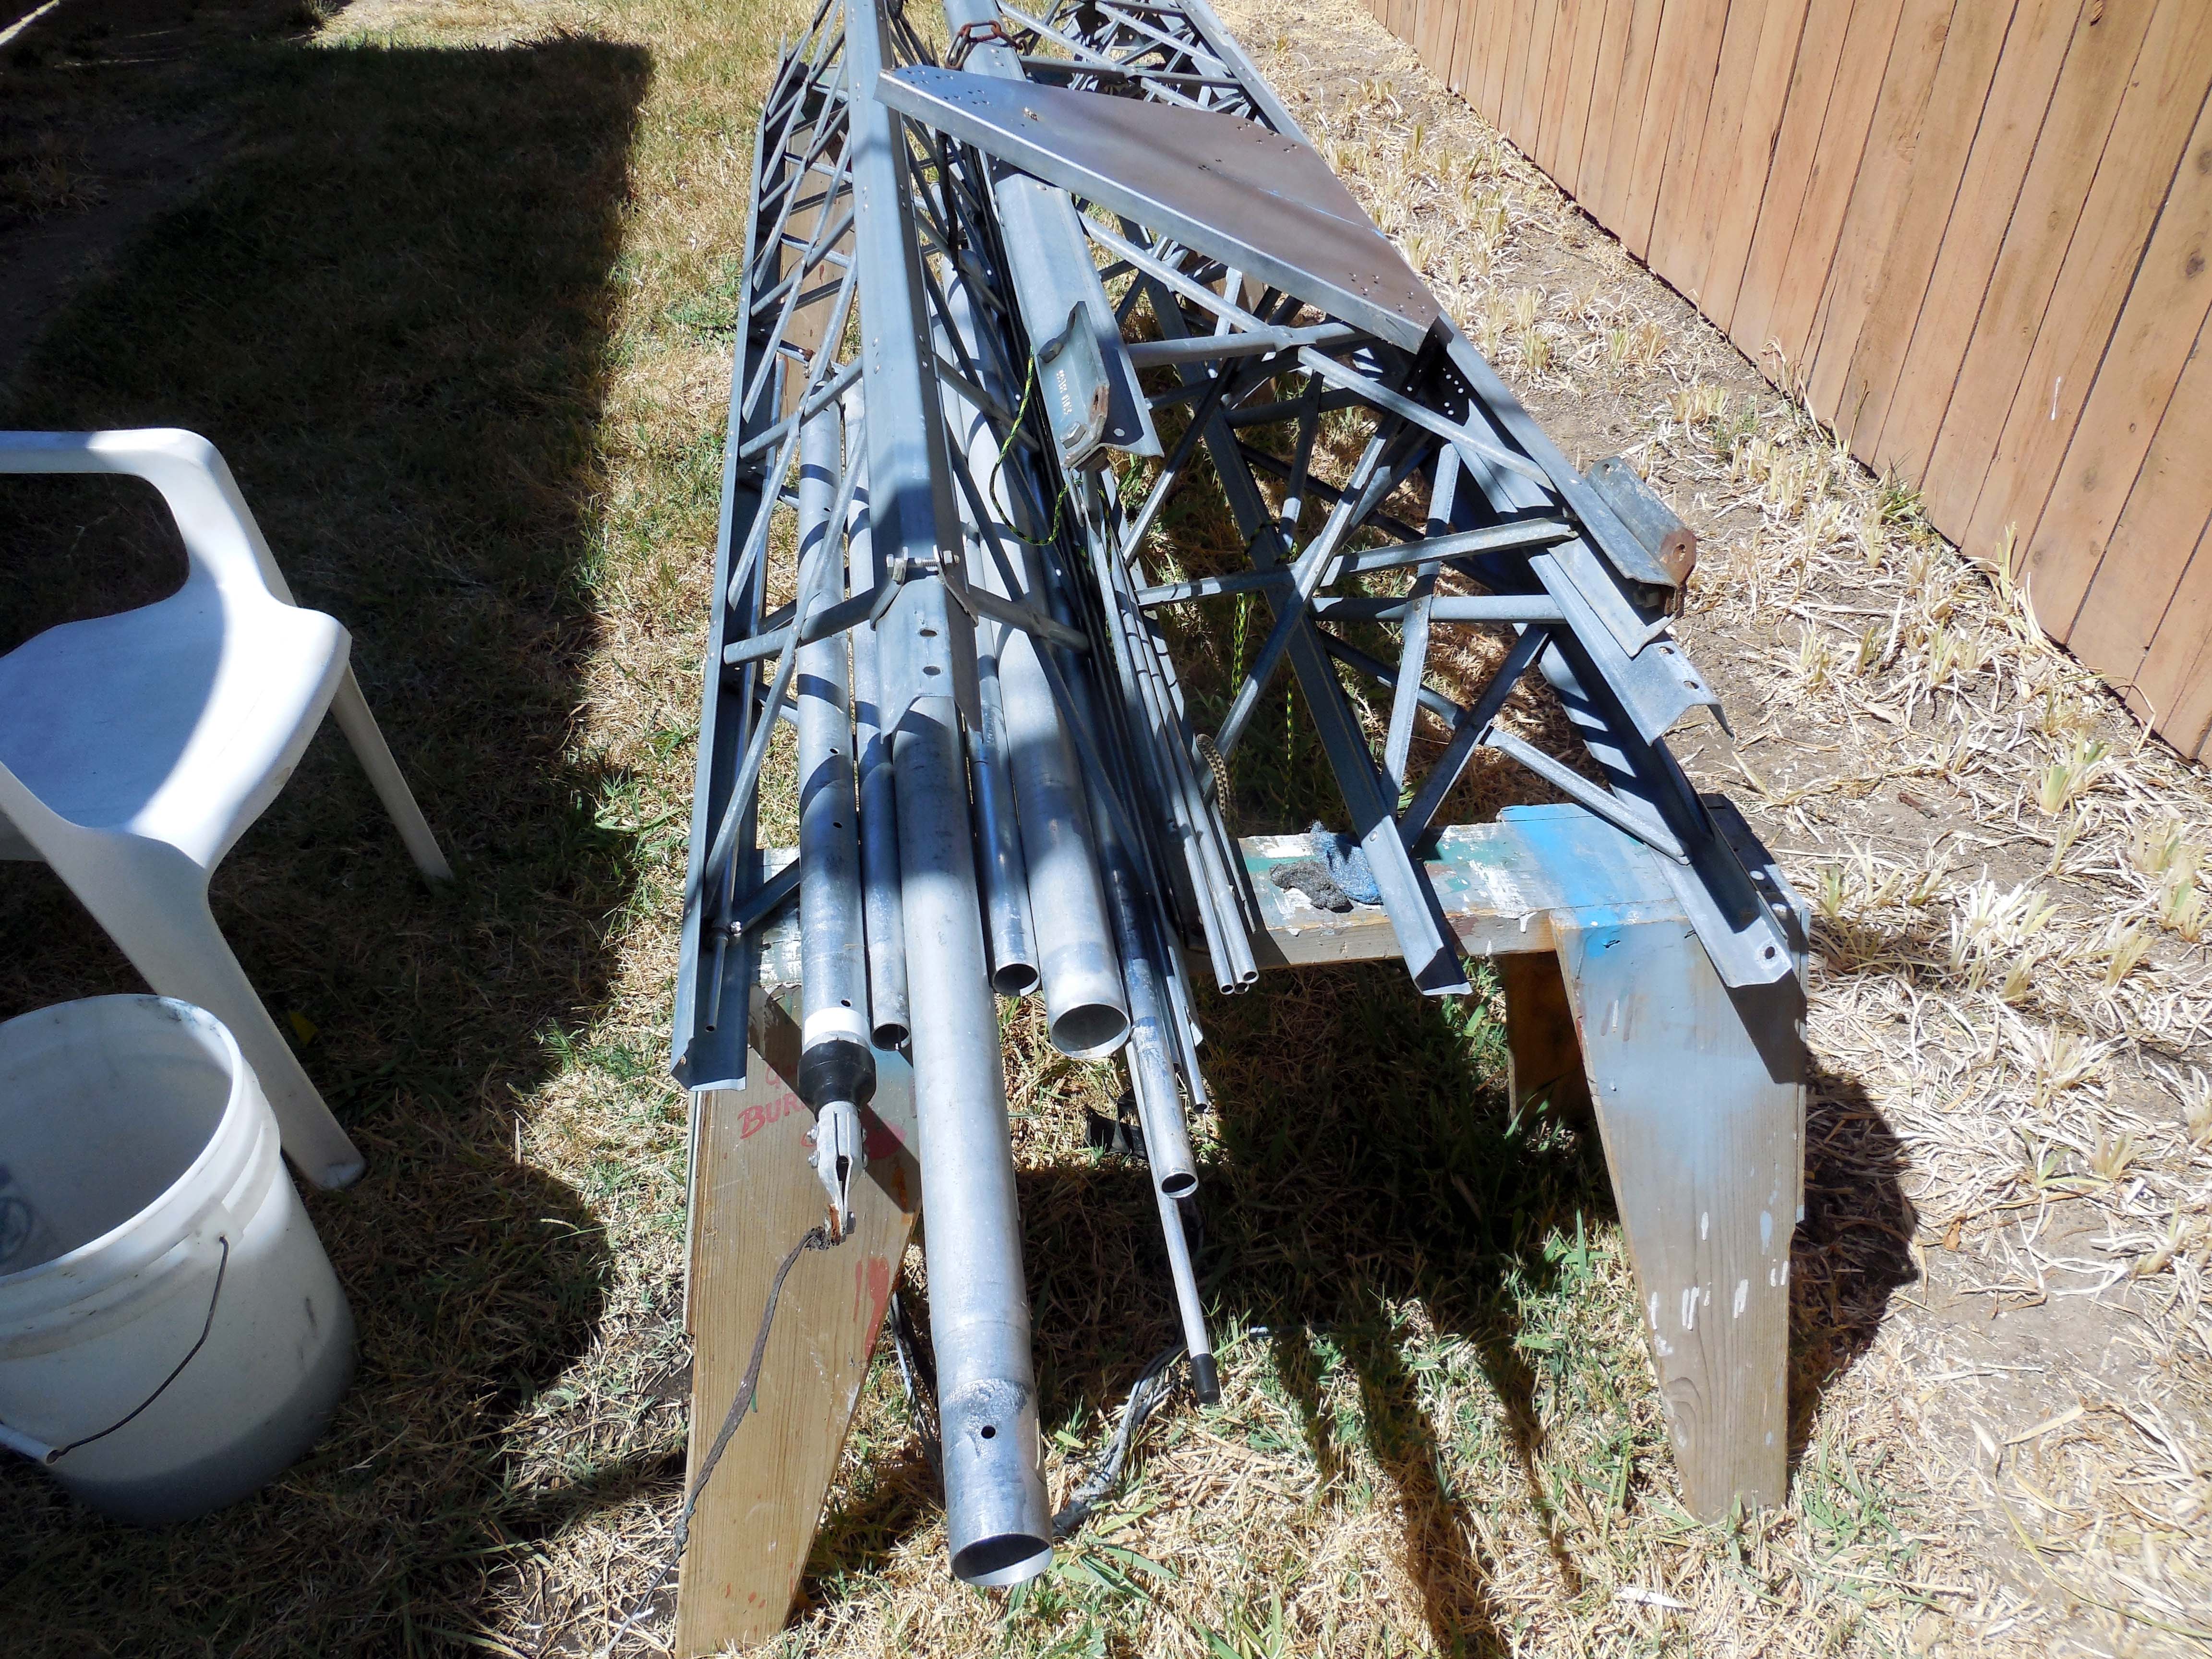
Note the corrosion on the tube right above the DANGER tag.
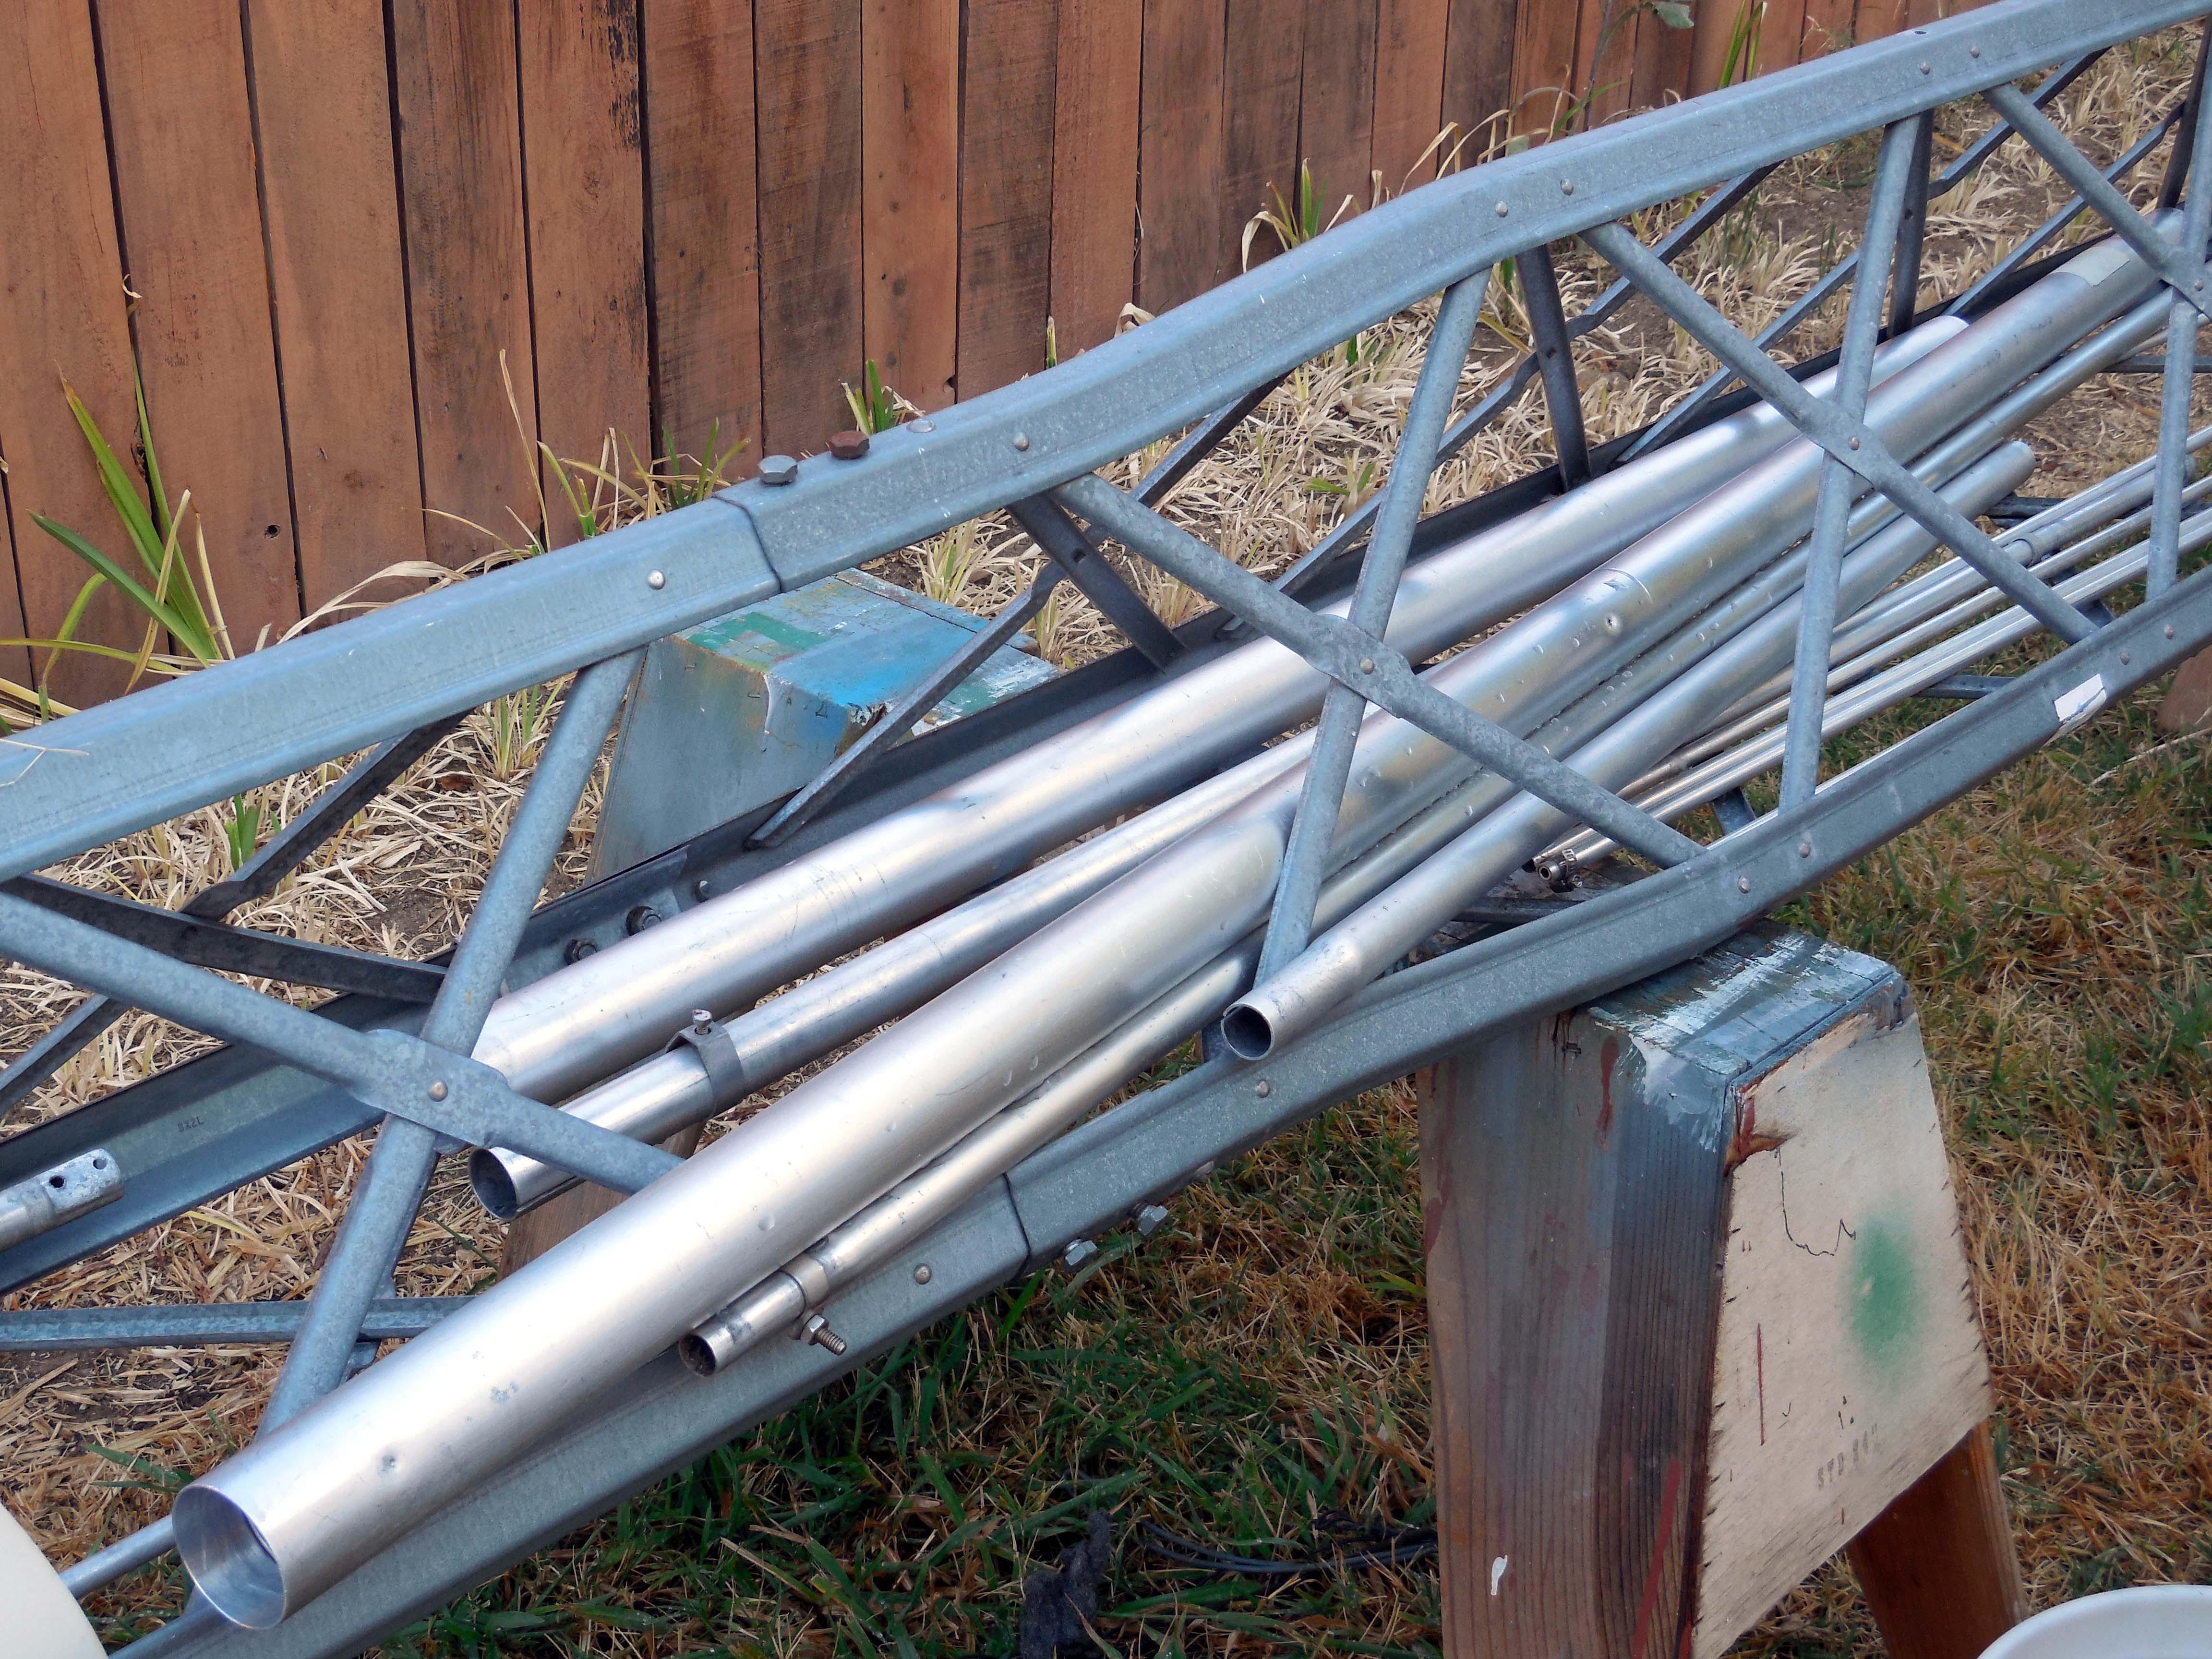
After the first washing the tubes are starting to look OK.
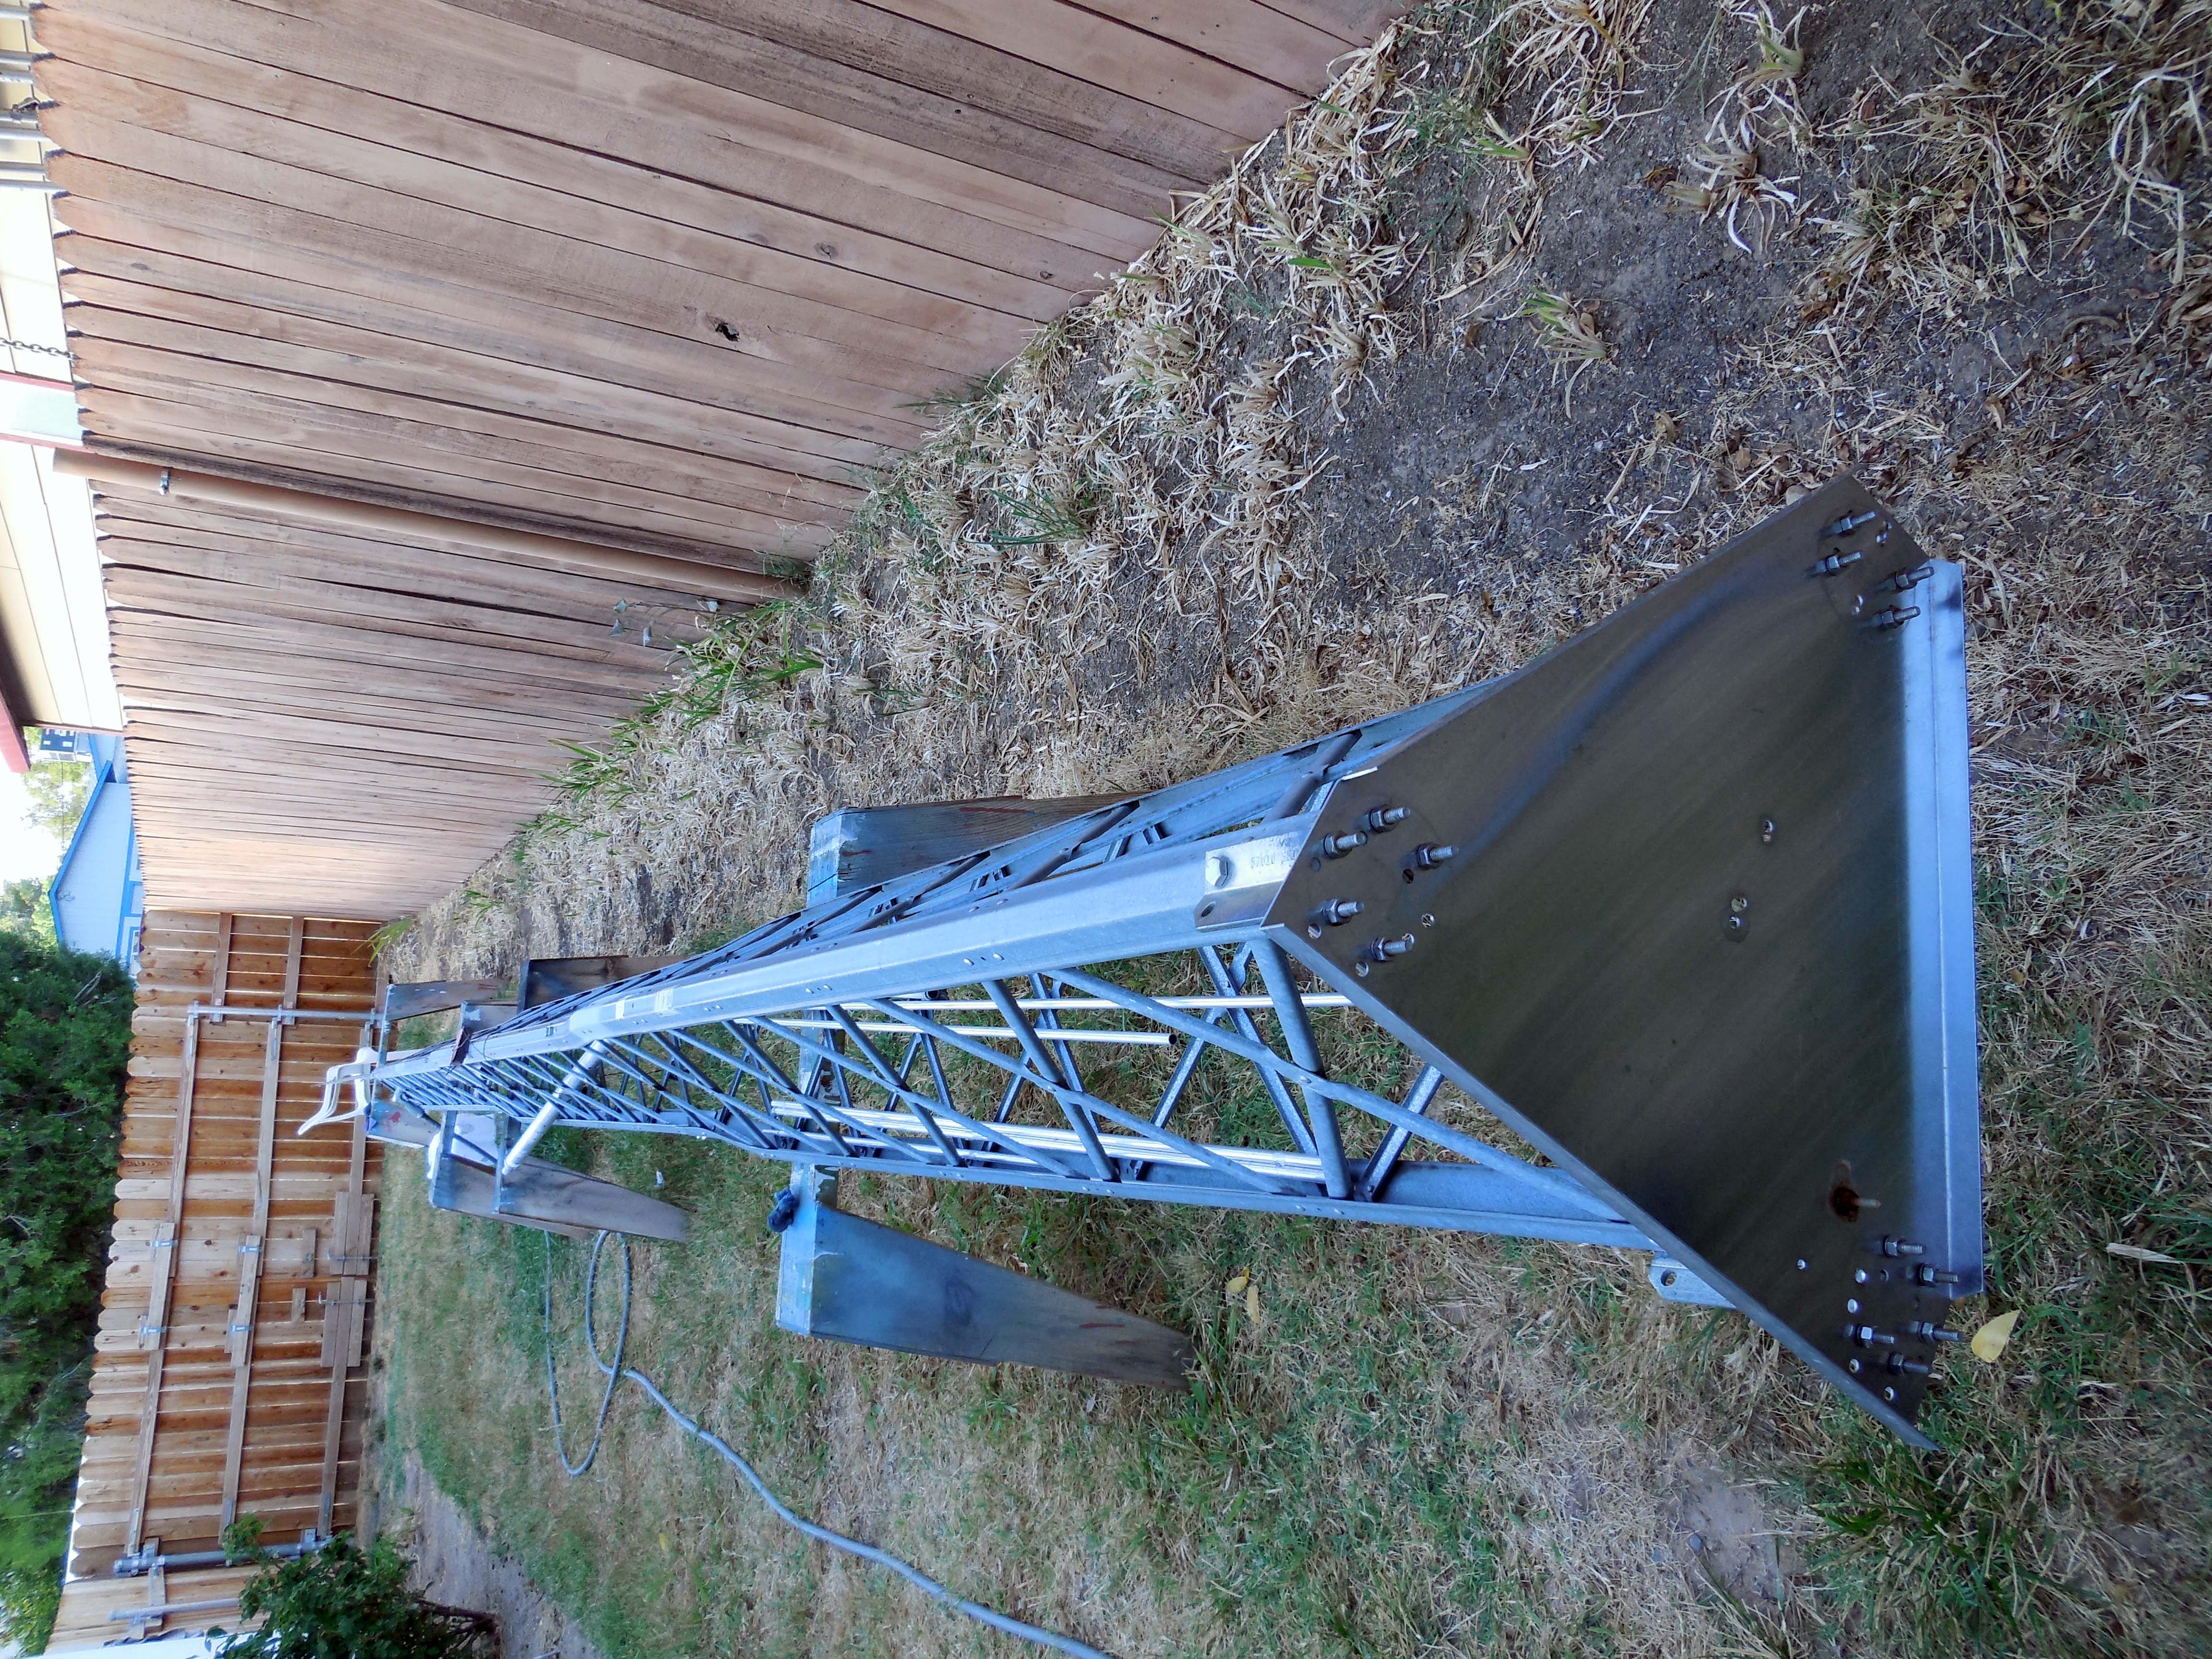
Tower sections together and base plate mounted.
Waiting for the insulators from MFJ.
This wait gave me a few extra weeks to clean the tower a few times.
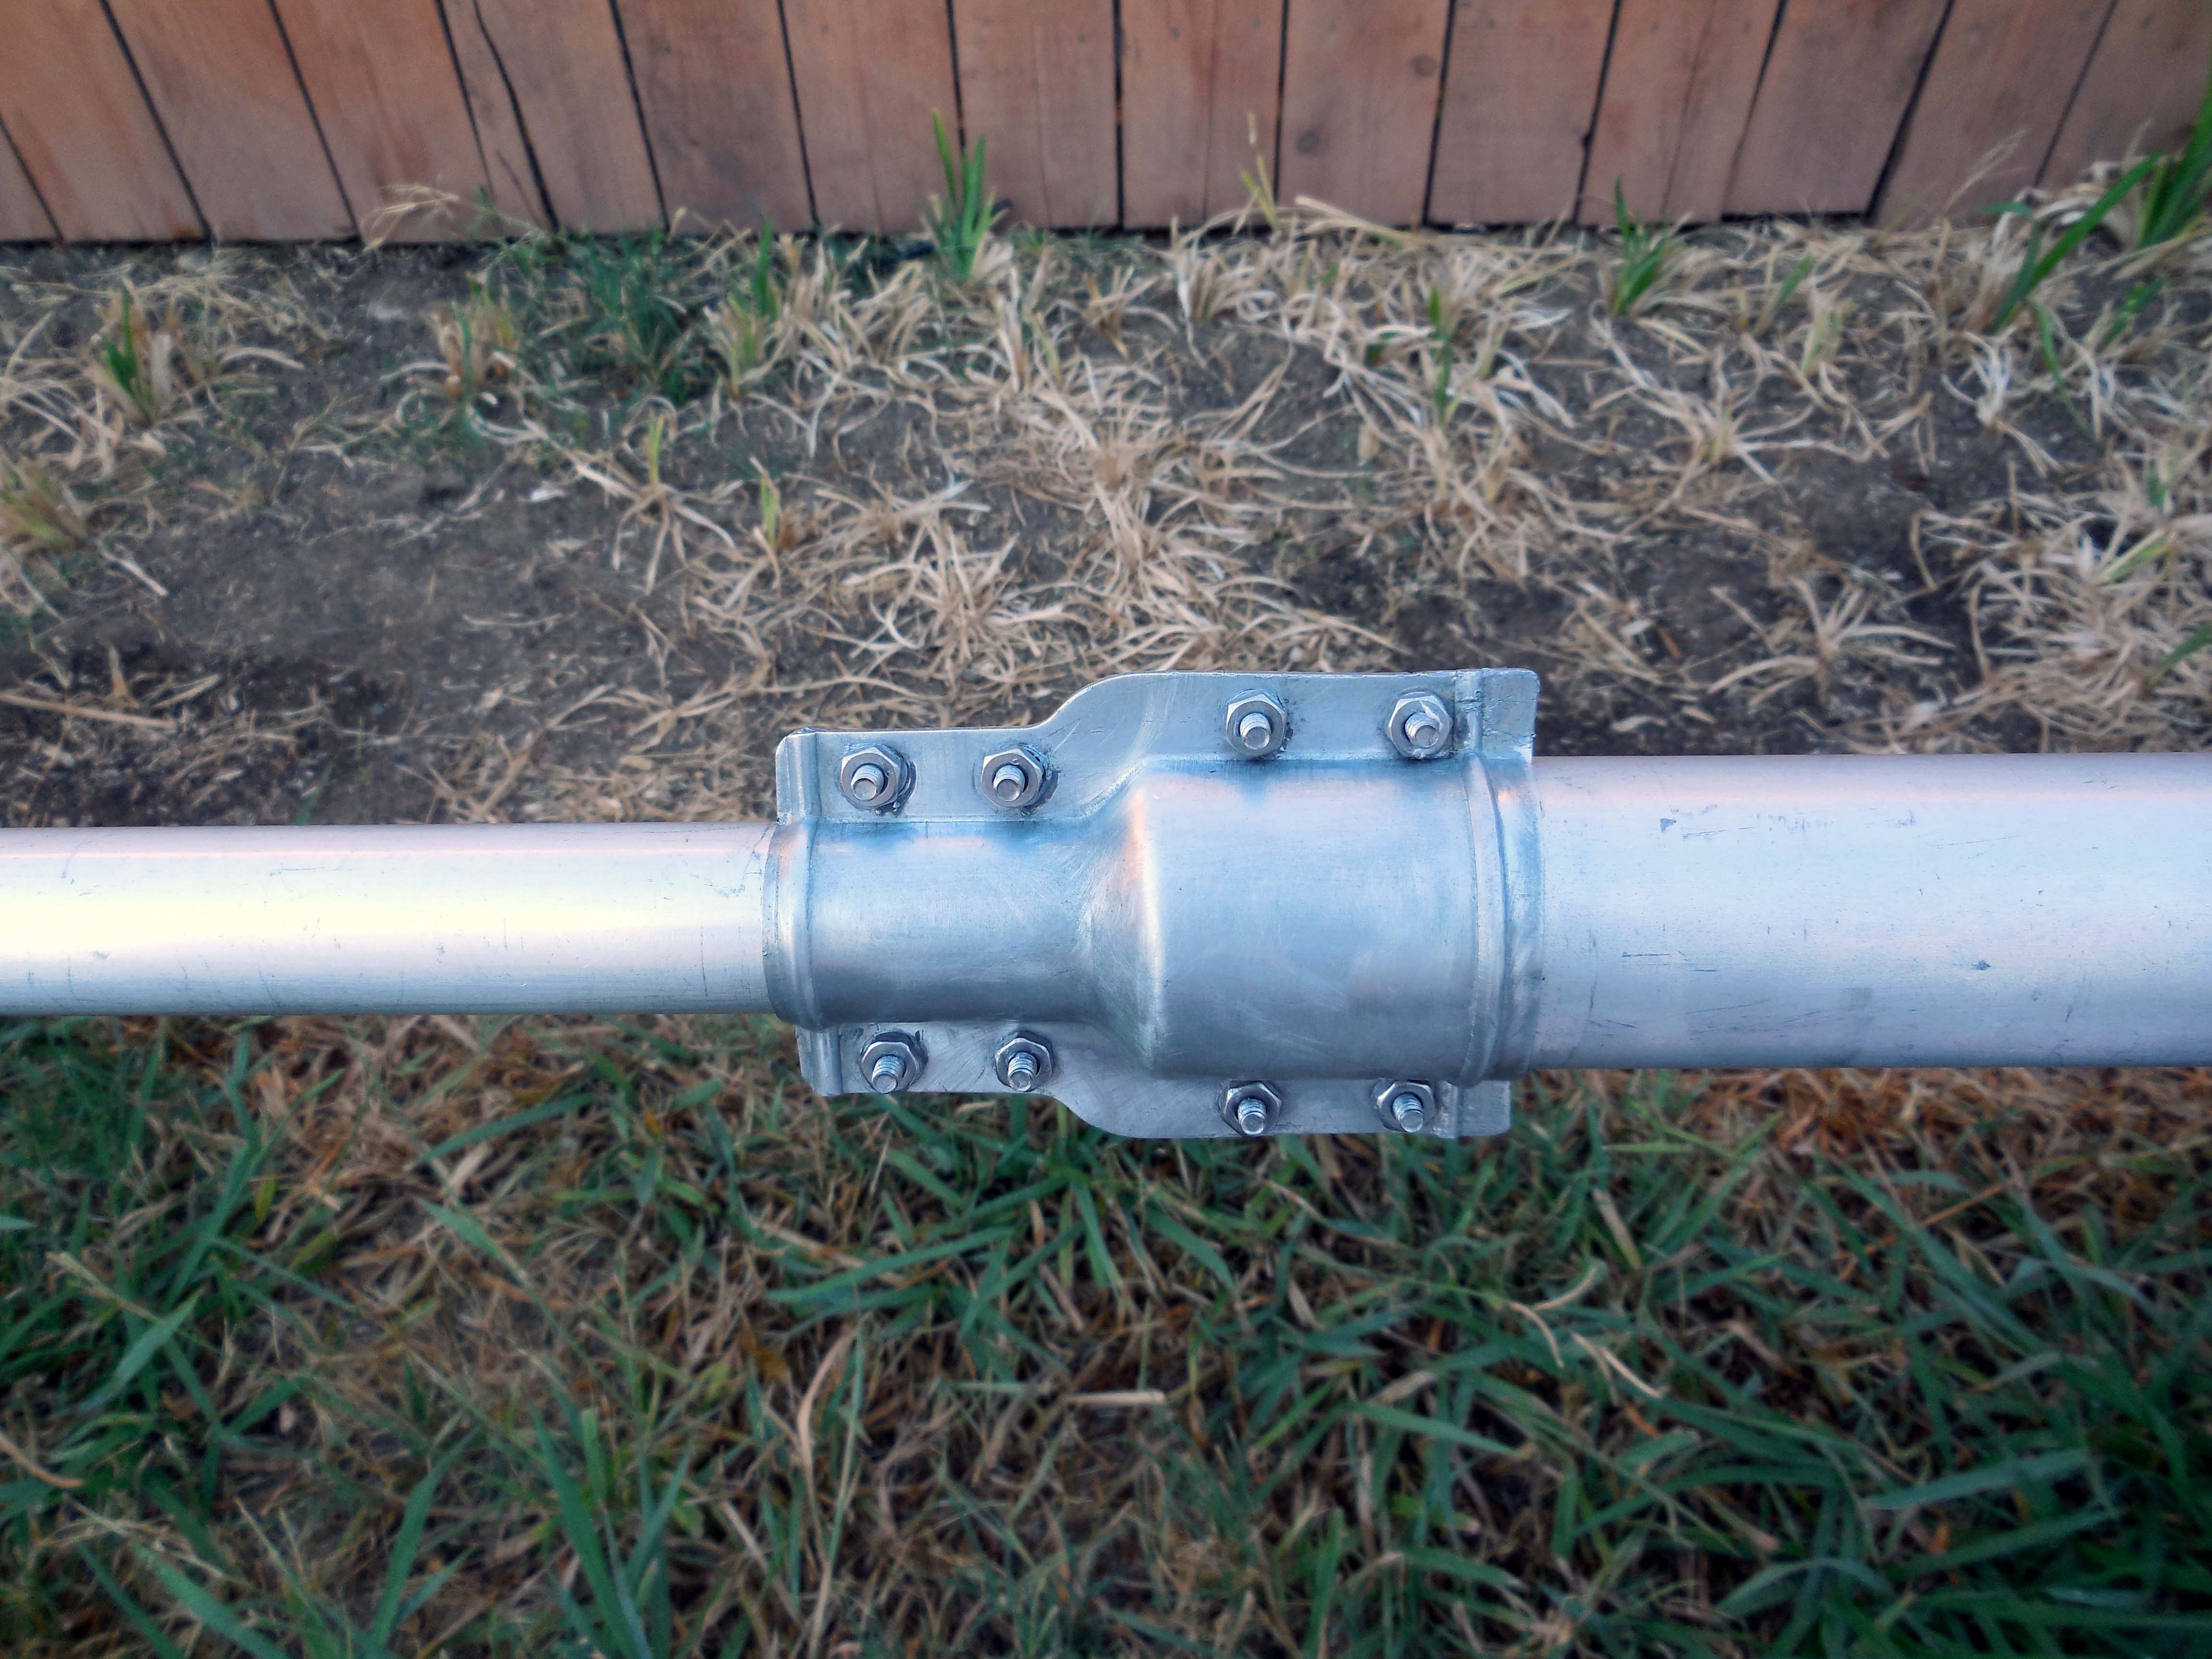
This is the reducer for the main shaft that goes out of the top of the tower sections.
More cleaning
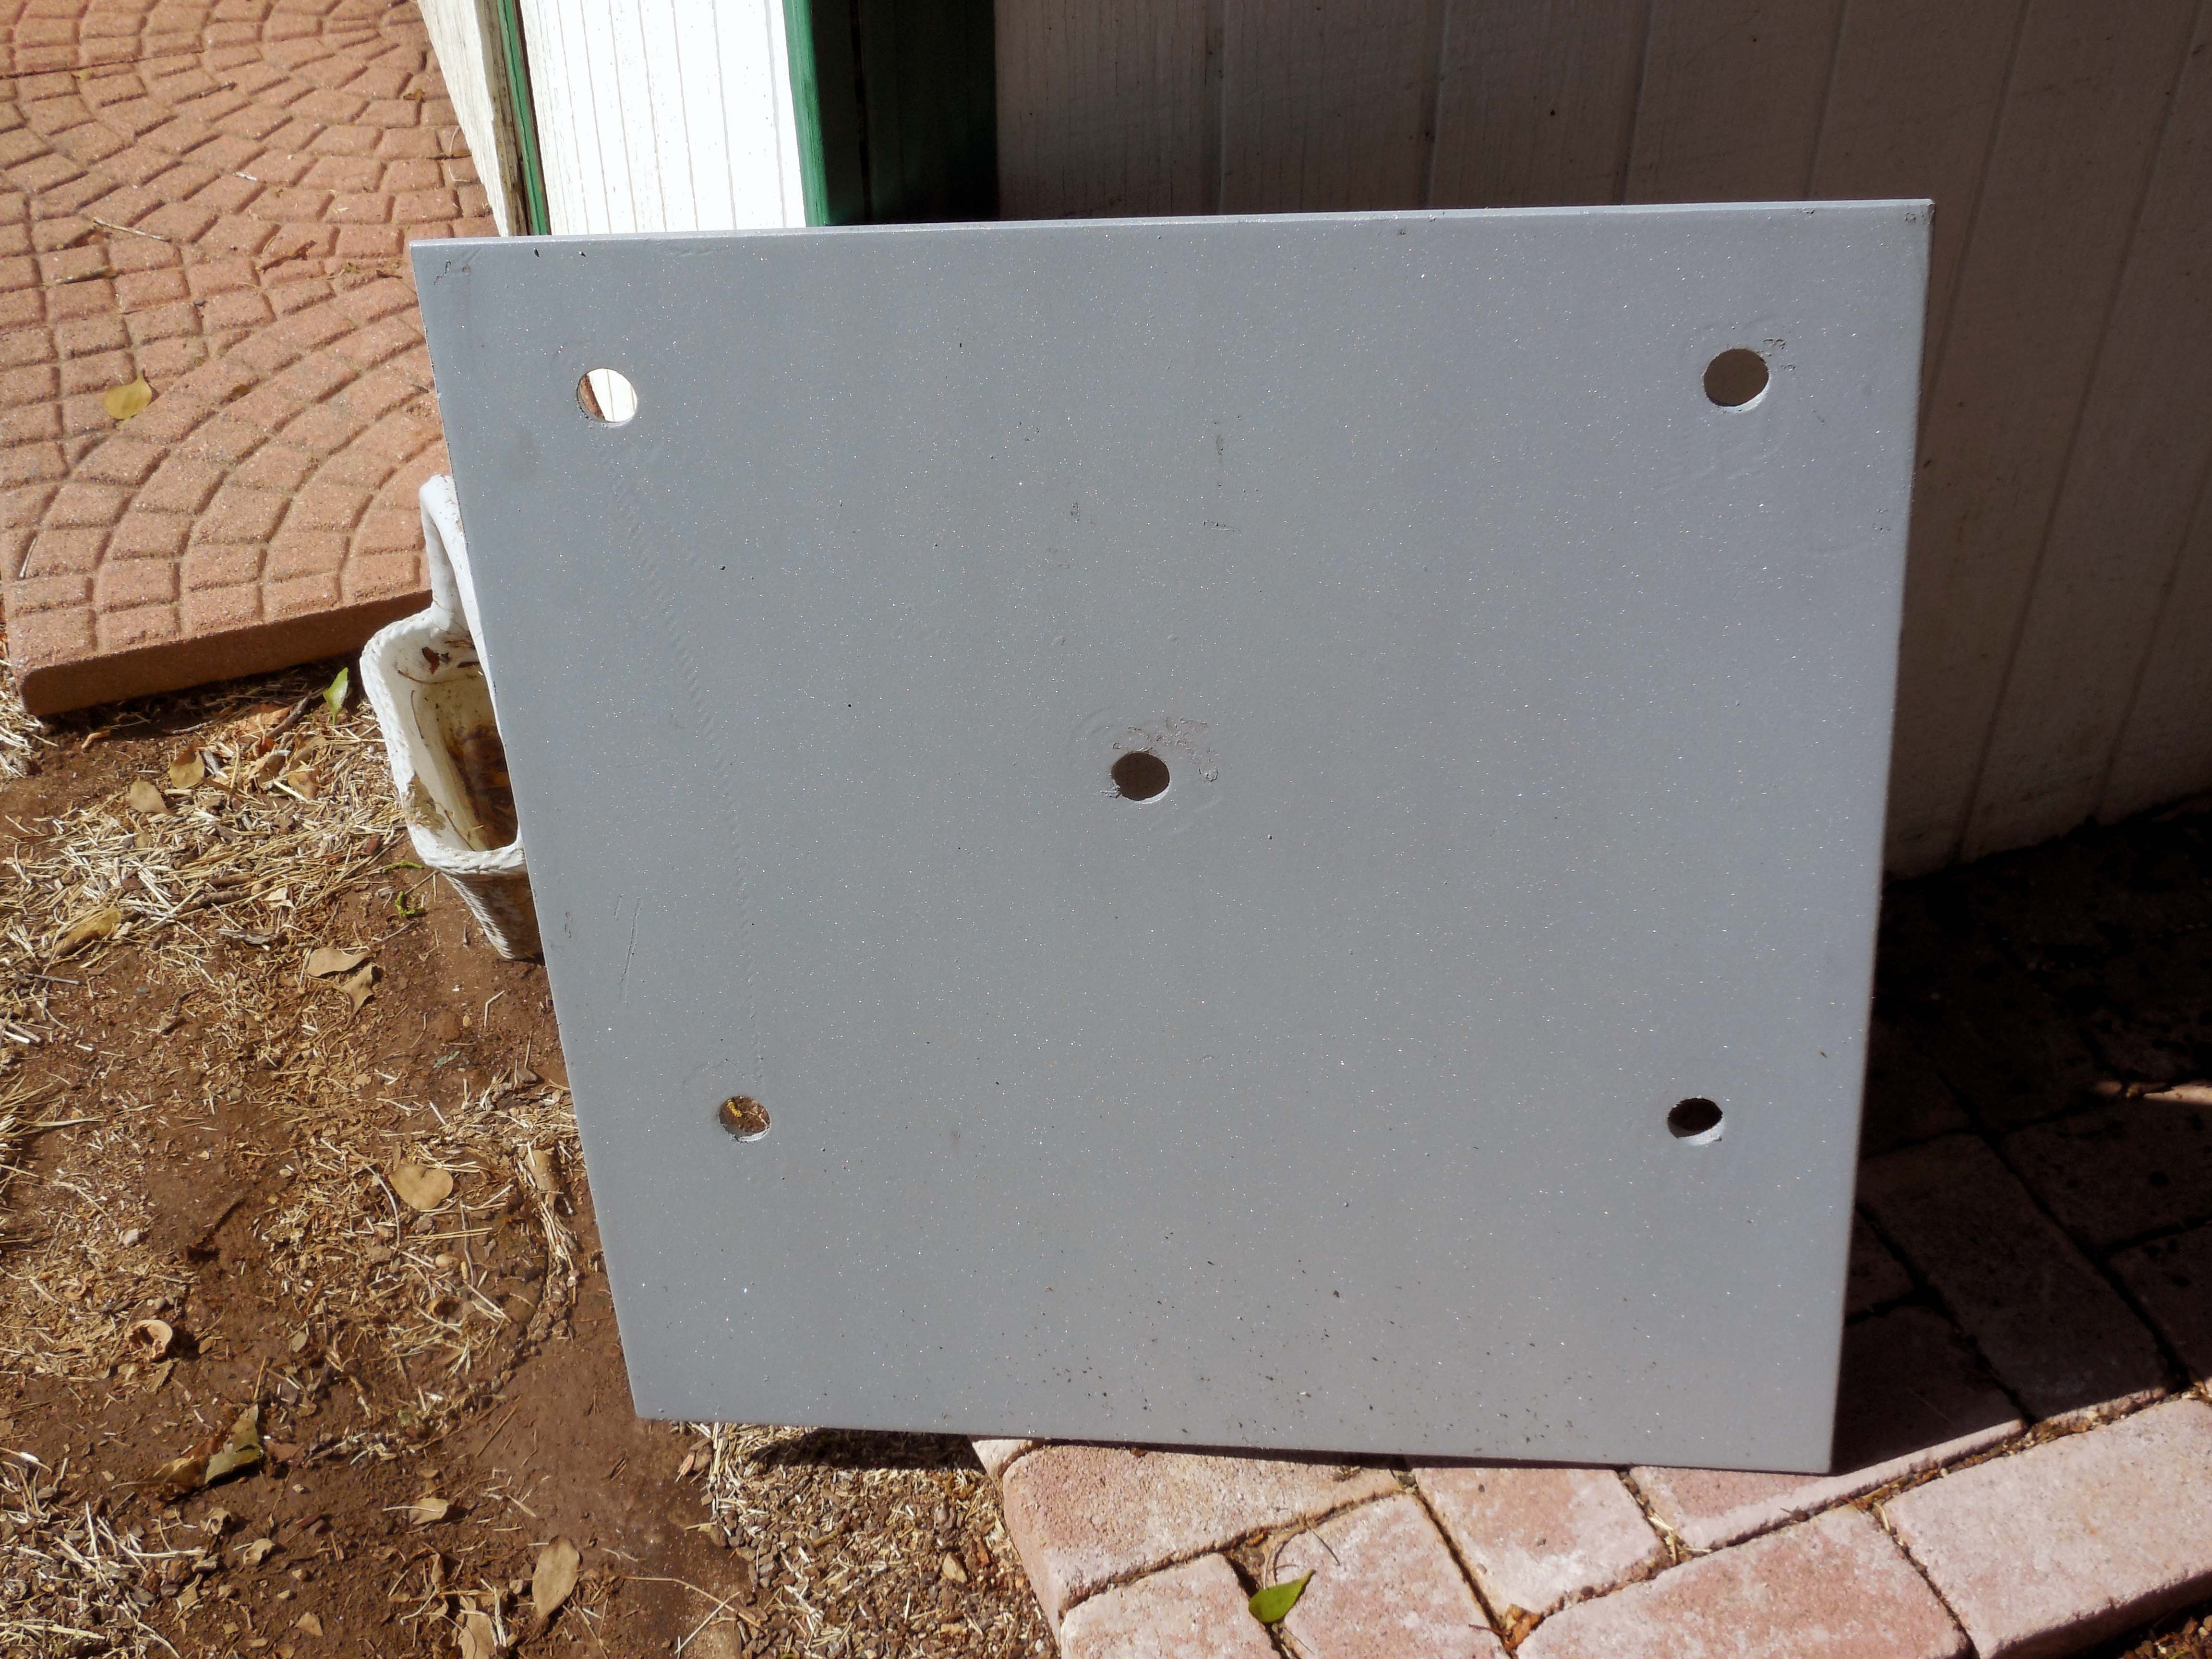
This is the base plate with the pad holes in it.
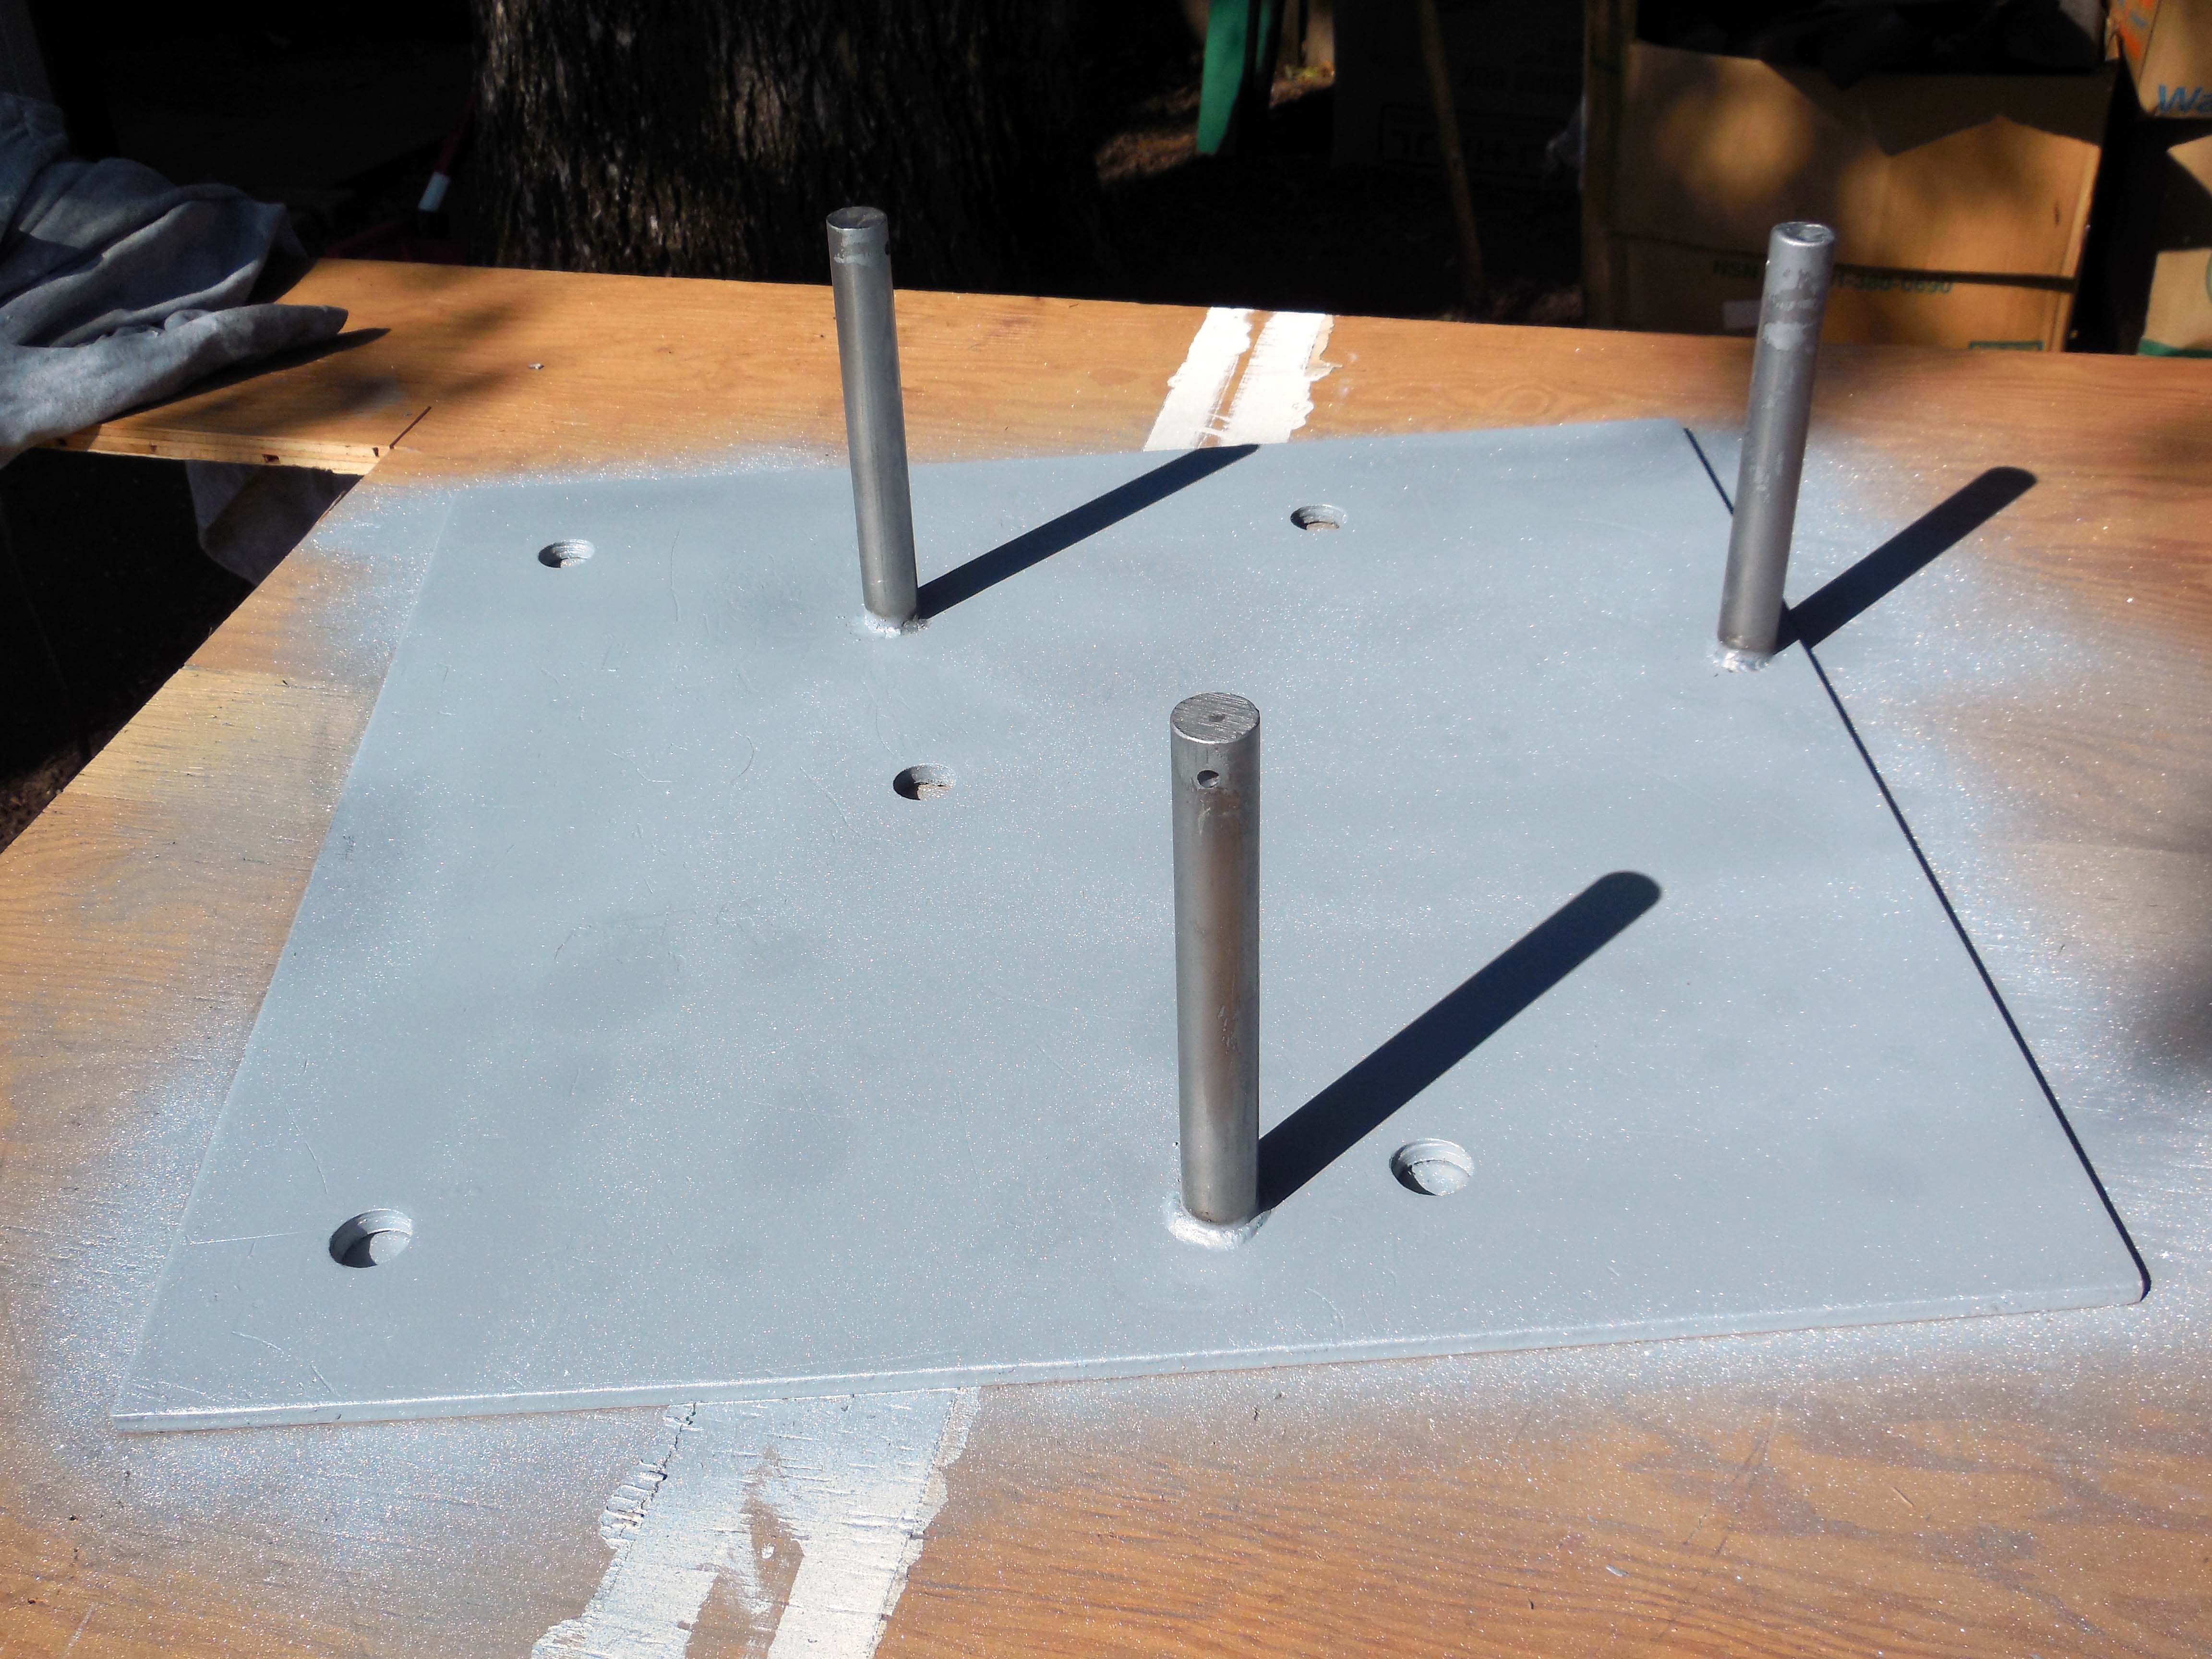
Here the base plate has the posts for the insulators and tubes.
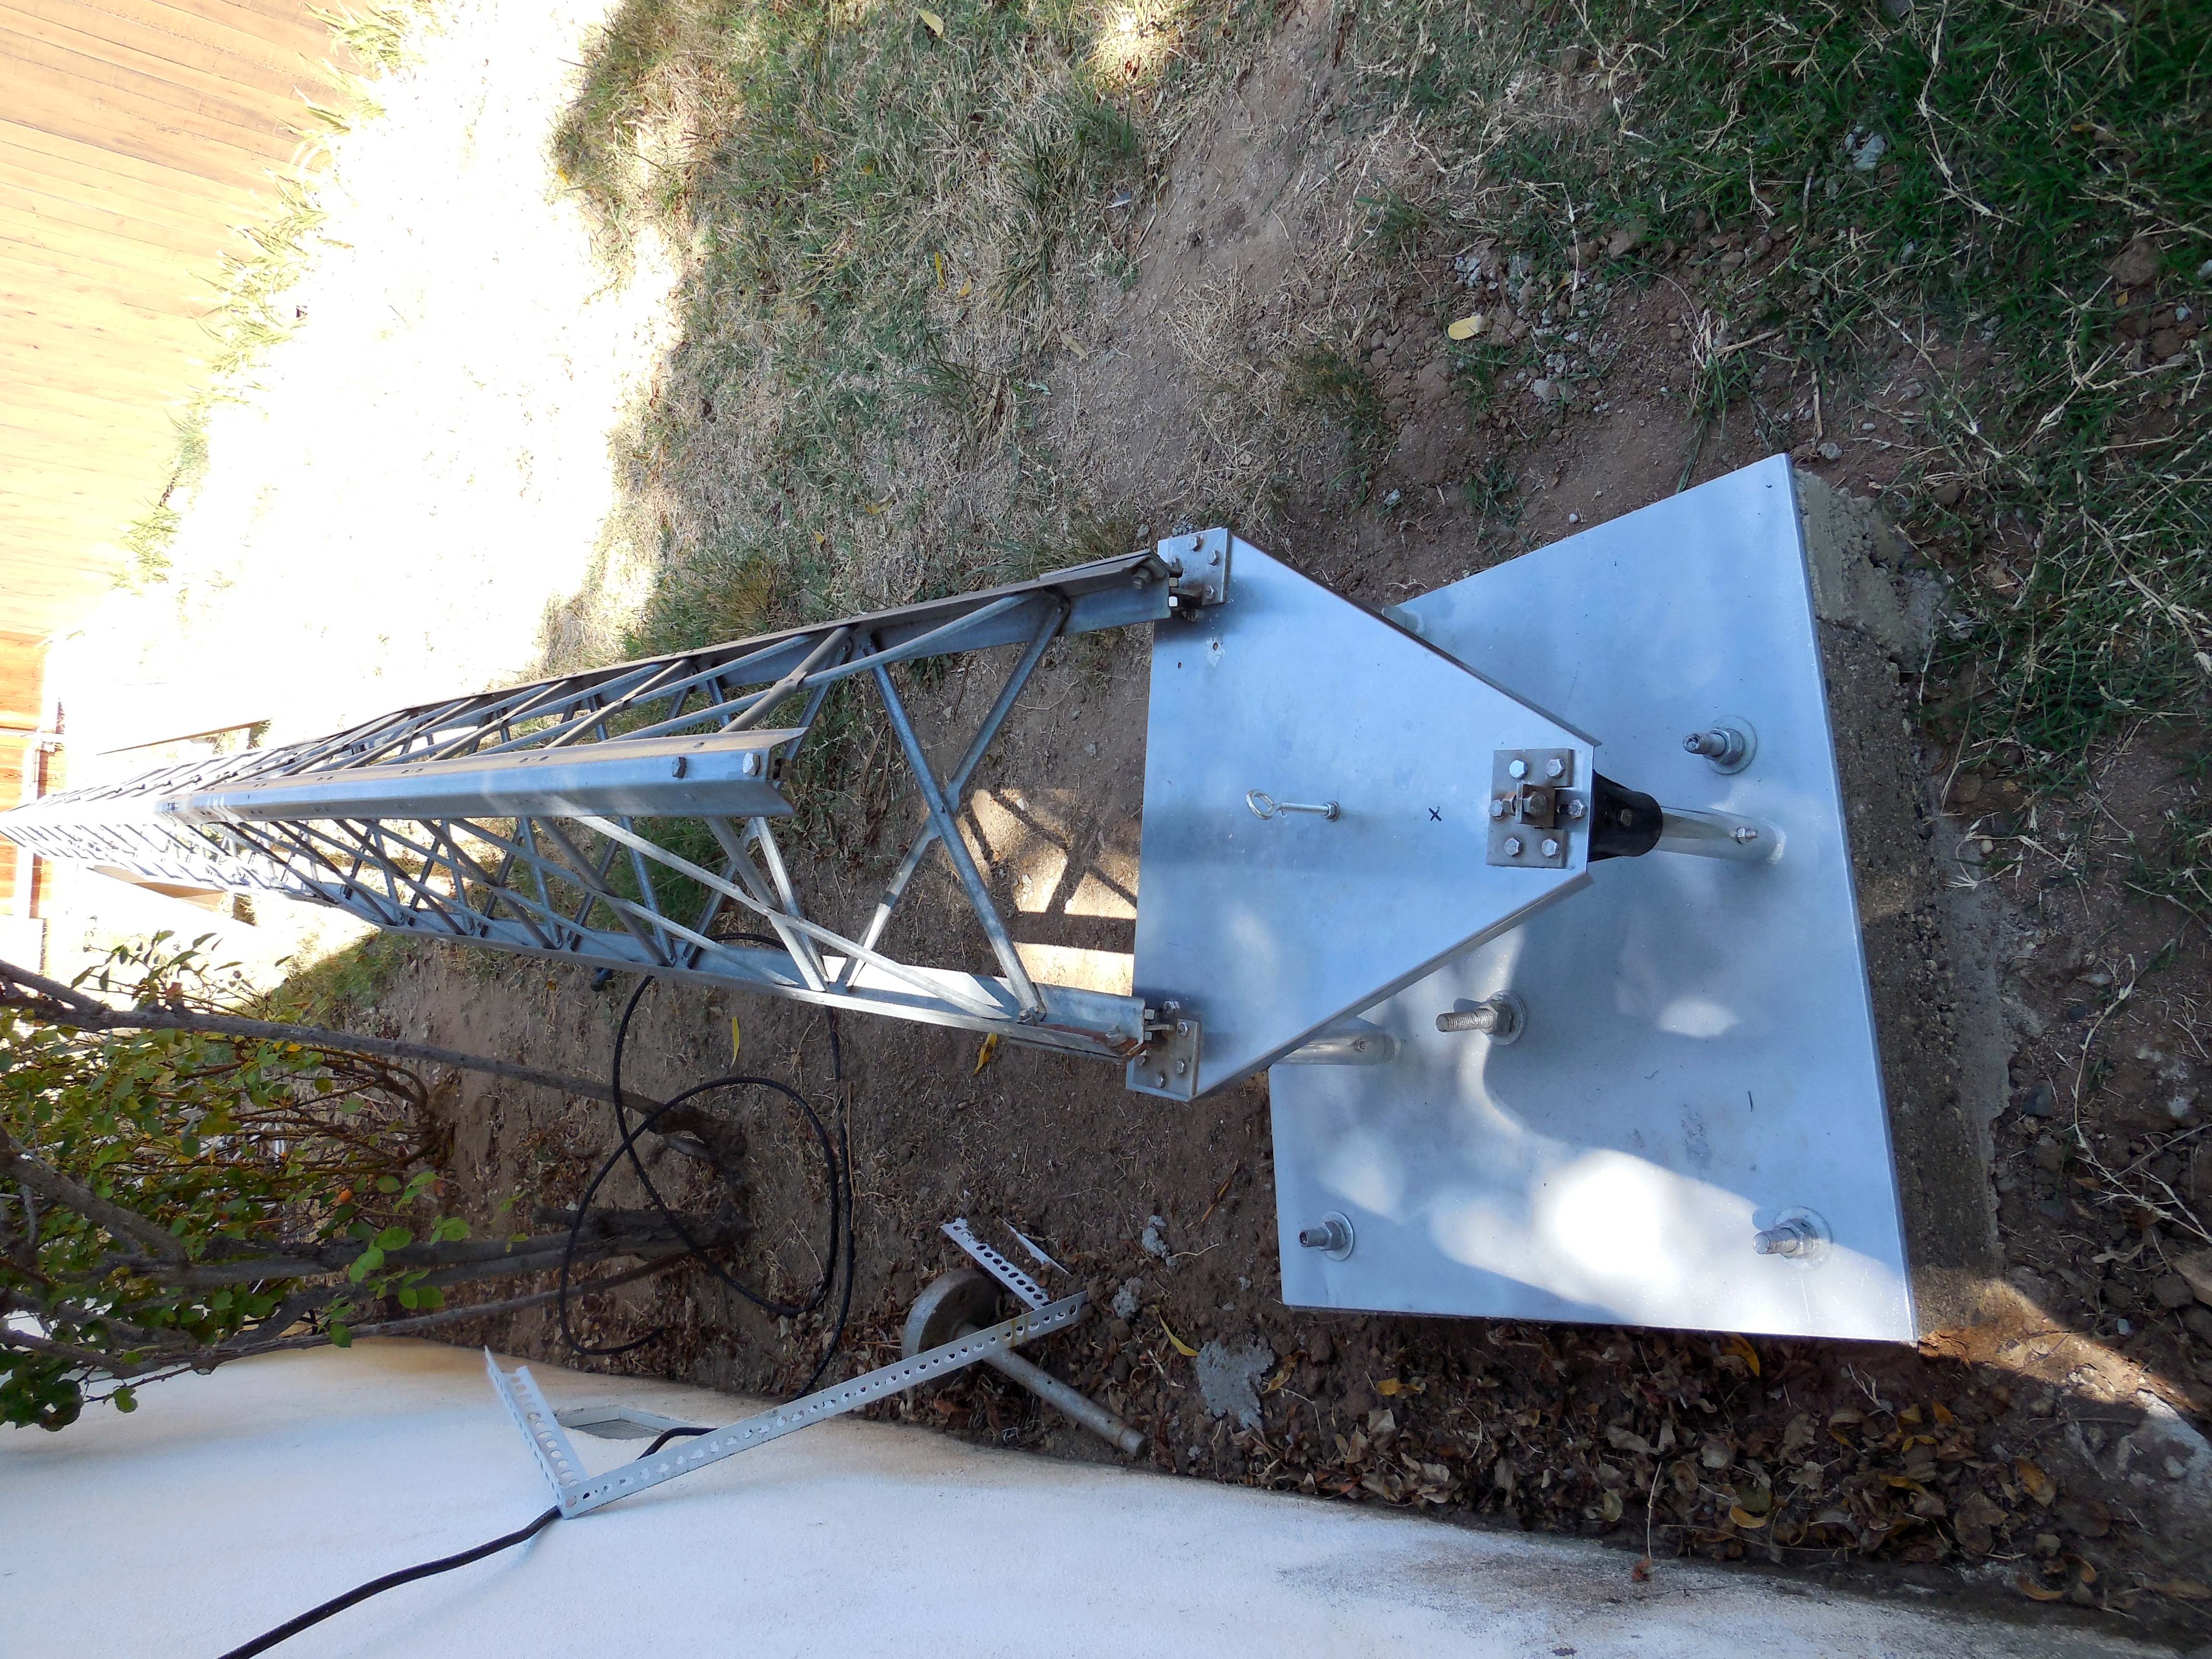
Base plate with all the parts ready to go on the pad .
Then bolt to the tower section of the antenna.

Getting it all ready.
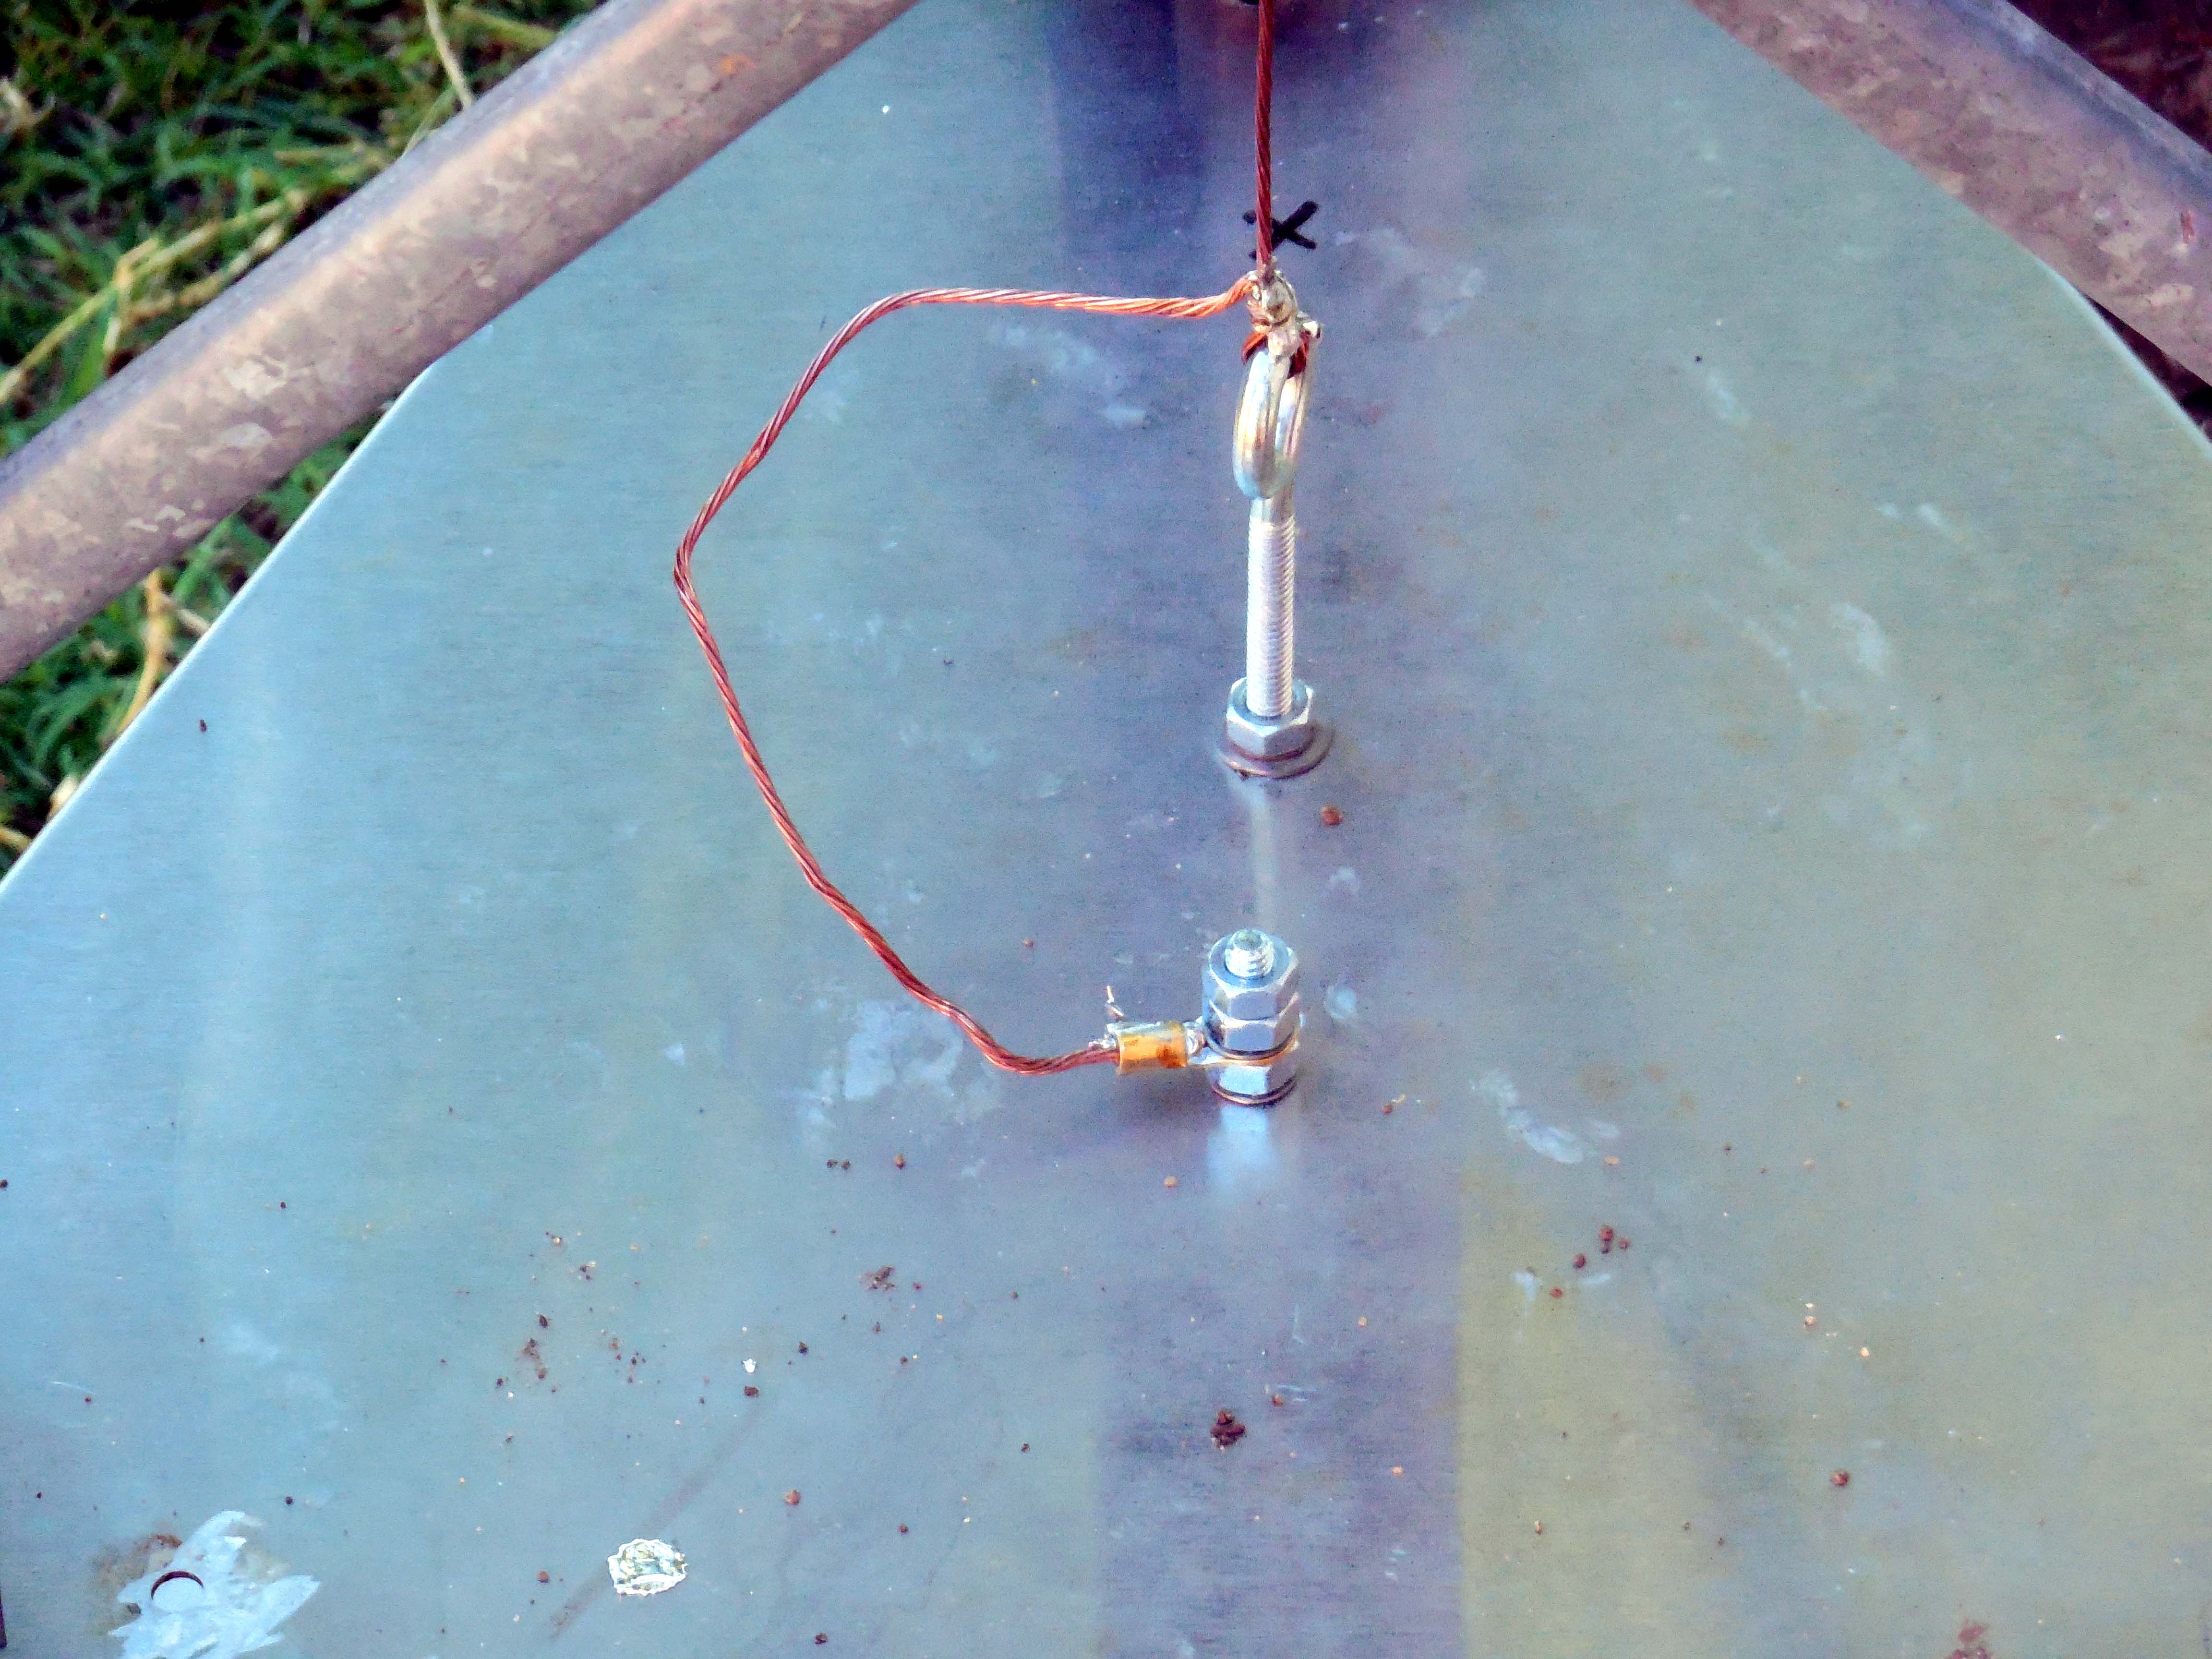
Center wire with lug and solder, connected to base plate.
Tower up in the air.
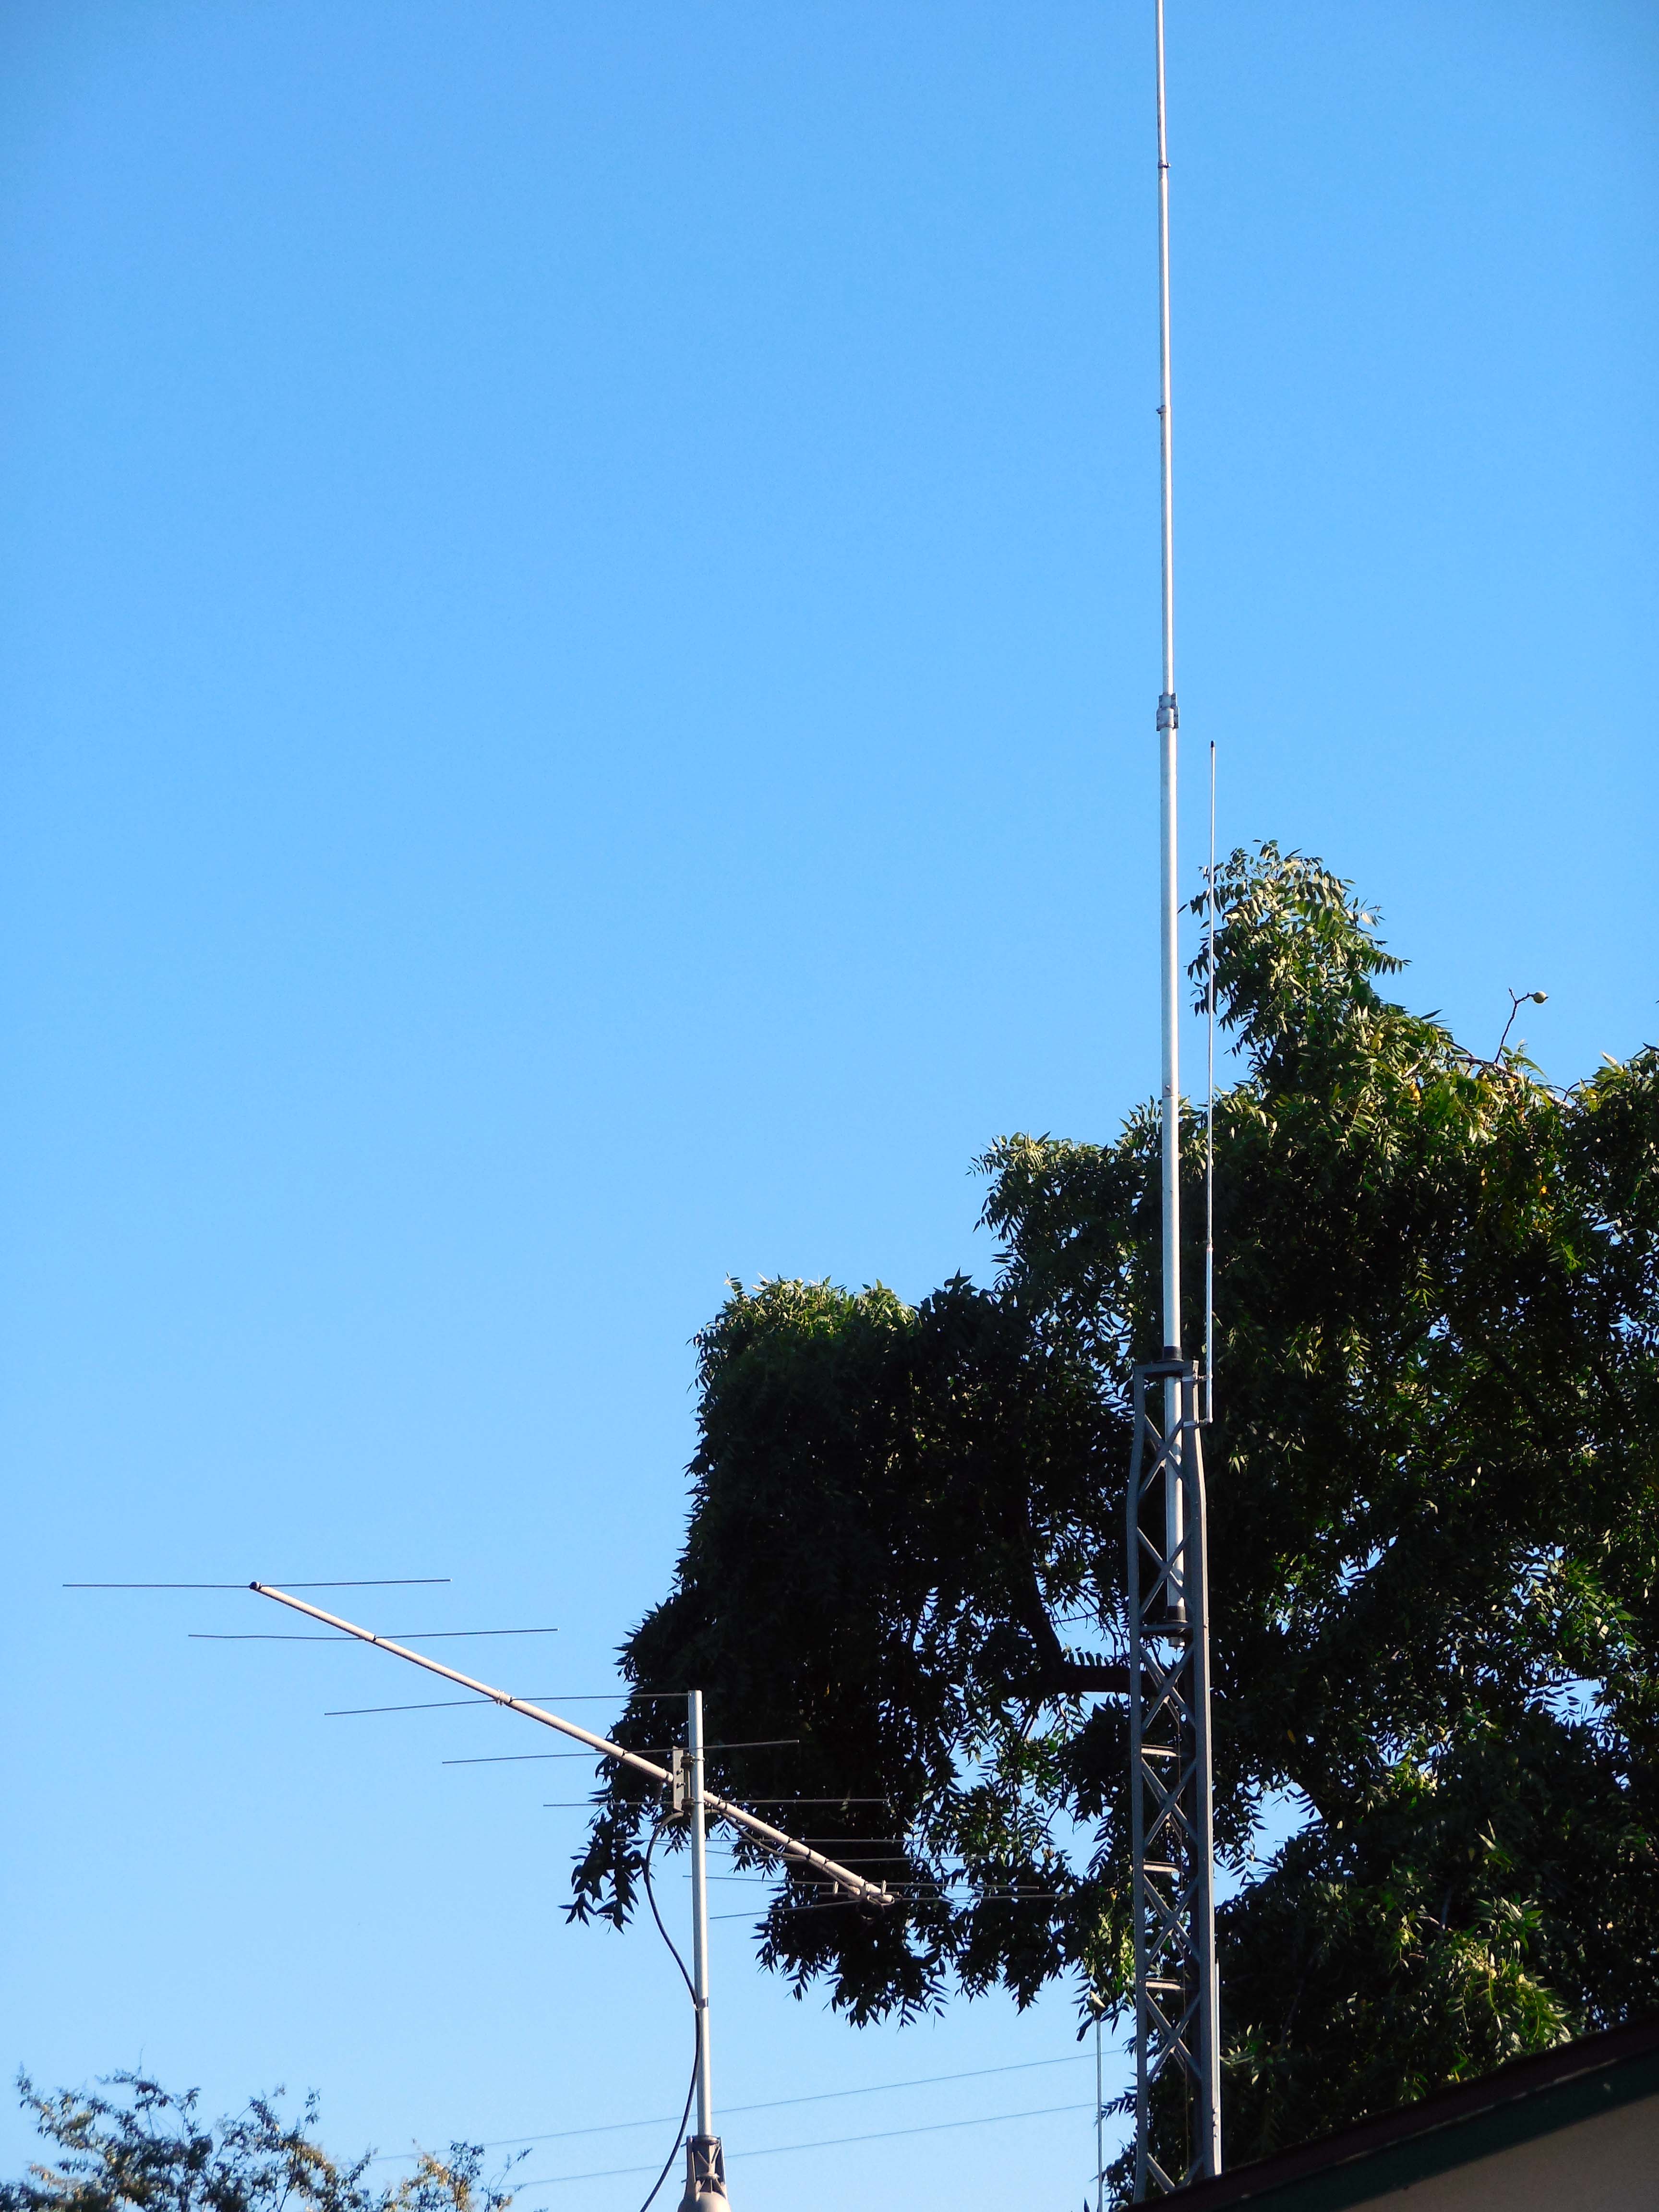
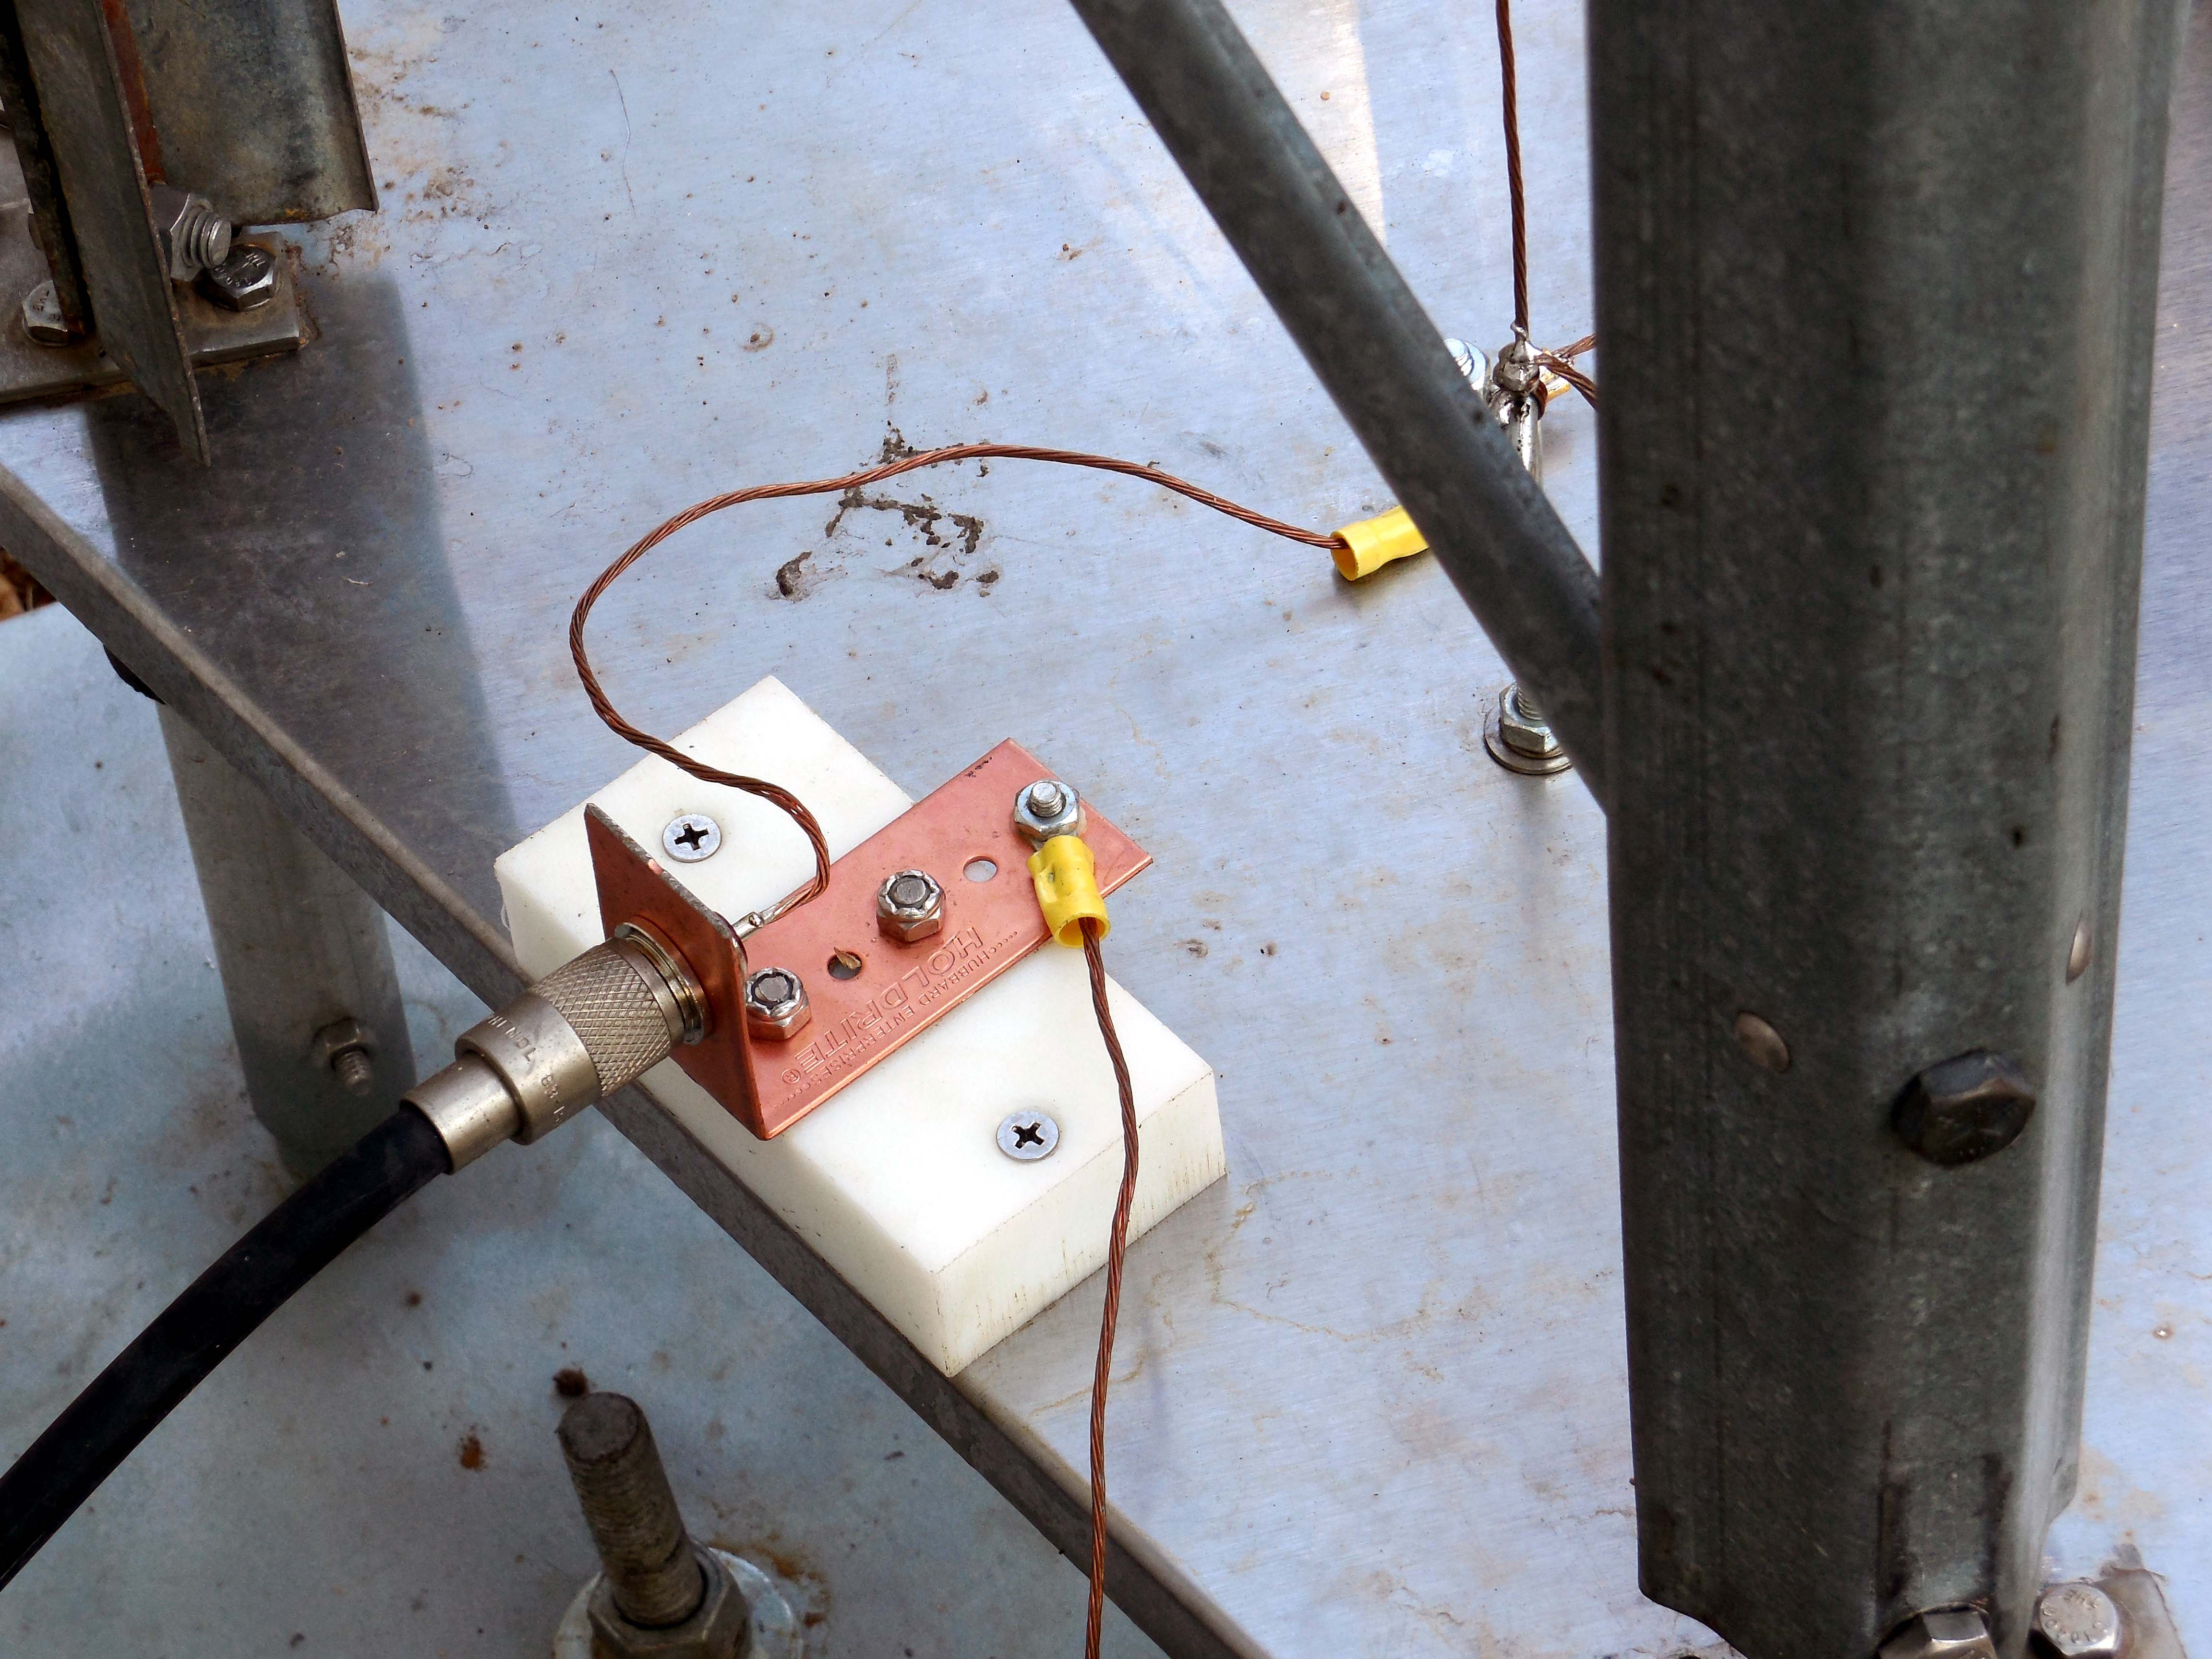
Ok, A temp coax connector in place. Only one ground rod connected.
This antenna is mounted next to the house, one might ask how good can it work.
Here are some of the first contacts made using this antenna.
| V5/DK1CE | 9/22/2014 | 15 | CW | Namibia | |
| W1AW/1 | 9/22/2014 | 15 | CW | USA | CT |
| W1AW/4 | 9/23/2014 | 20 | CW | USA | NC |
| VP9/ND8L | 9/25/2014 | 20 | RTTY | Bermuda | |
| P49X | 9/25/2014 | 20 | RTTY | Aruba | |
| VK9AN | 9/25/2014 | 20 | RTTY | Christmas I. | |
| W1AW/7 | 9/25/2014 | 20 | RTTY | USA | ID |
| W1AW/7 | 9/26/2014 | 30 | CW | USA | ID |
| W1AW/5 | 9/26/2014 | 30 | RTTY | USA | NM |
| KI7MT | 9/26/2014 | 20 | RTTY | Not Found | MT |
| VP9/K3GP | 9/26/2014 | 20 | RTTY | Bermuda | |
| N7NM | 9/26/2014 | 20 | RTTY | USA | WA |
| W0NEO | 9/26/2014 | 20 | RTTY | USA | AR |
| CR5R | 9/26/2014 | 20 | RTTY | Portugal | |
| TF2R | 9/26/2014 | 20 | RTTY | Iceland | |
| NN1SS | 9/26/2014 | 20 | RTTY | USA | NH |
| ZX2B | 9/27/2014 | 20 | RTTY | Brazil | |
| ZX2B | 9/27/2014 | 20 | RTTY | Brazil | |
| N1SNB | 9/27/2014 | 20 | RTTY | Not Found | MA |
| FG5LA | 9/27/2014 | 20 | RTTY | Guadeloupe | |
| N3RC | 9/27/2014 | 20 | RTTY | USA | MT |
| AA3B | 9/27/2014 | 20 | RTTY | USA | PA |
| KZ2Q | 9/27/2014 | 20 | RTTY | USA | NY |
| N8RU | 9/27/2014 | 20 | RTTY | USA | MI |
| W4GKM | 9/27/2014 | 20 | RTTY | USA | TN |
| KL7IWC | 9/27/2014 | 20 | RTTY | Alaska | AK |
| AI6YL | 9/27/2014 | 20 | RTTY | USA | NV |
| NR4M | 9/27/2014 | 20 | RTTY | USA | VA |
| W7RN | 9/27/2014 | 20 | RTTY | USA | NV |
| RW0A | 9/27/2014 | 20 | RTTY | Asiatic Russia | |
| CR3A | 9/27/2014 | 20 | RTTY | Madeira Is. | |
| K5WW | 9/27/2014 | 40 | RTTY | USA | TX |
| WN6K | 9/27/2014 | 40 | RTTY | USA | CA |
| AB0LR | 9/27/2014 | 40 | RTTY | USA | CO |
| W1UE | 9/27/2014 | 40 | RTTY | USA | MA |
| VE7UF | 9/27/2014 | 40 | RTTY | Canada | BC |
| AF6SA | 9/27/2014 | 40 | RTTY | USA | CA |
| P49X | 9/27/2014 | 40 | RTTY | Aruba | |
| K3MJW | 9/27/2014 | 40 | RTTY | USA | PA |
| KB7EEG | 9/27/2014 | 40 | RTTY | USA | UT |
| P40HF | 9/27/2014 | 40 | RTTY | Aruba | VA |
| KI6RRN | 9/27/2014 | 40 | RTTY | USA | CA |
| K7TQ | 9/27/2014 | 40 | RTTY | USA | ID |
| NR4M | 9/27/2014 | 40 | RTTY | USA | VA |
| KH7XX | 9/27/2014 | 40 | RTTY | Hawaii | HI |
| W7RY | 9/27/2014 | 40 | RTTY | USA | WA |
| W6AEA | 9/27/2014 | 20 | RTTY | USA | WA |
| VE7SV | 9/27/2014 | 20 | RTTY | Canada | BC |
| W0EM | 9/27/2014 | 15 | RTTY | USA | CO |
| N5JR | 9/27/2014 | 15 | RTTY | USA | TX |
| Hy-Gain | Hy-Tower | AV-18HT |
I will also be adding a 160 coil. It is on order and should be here on the 29th of Sept....
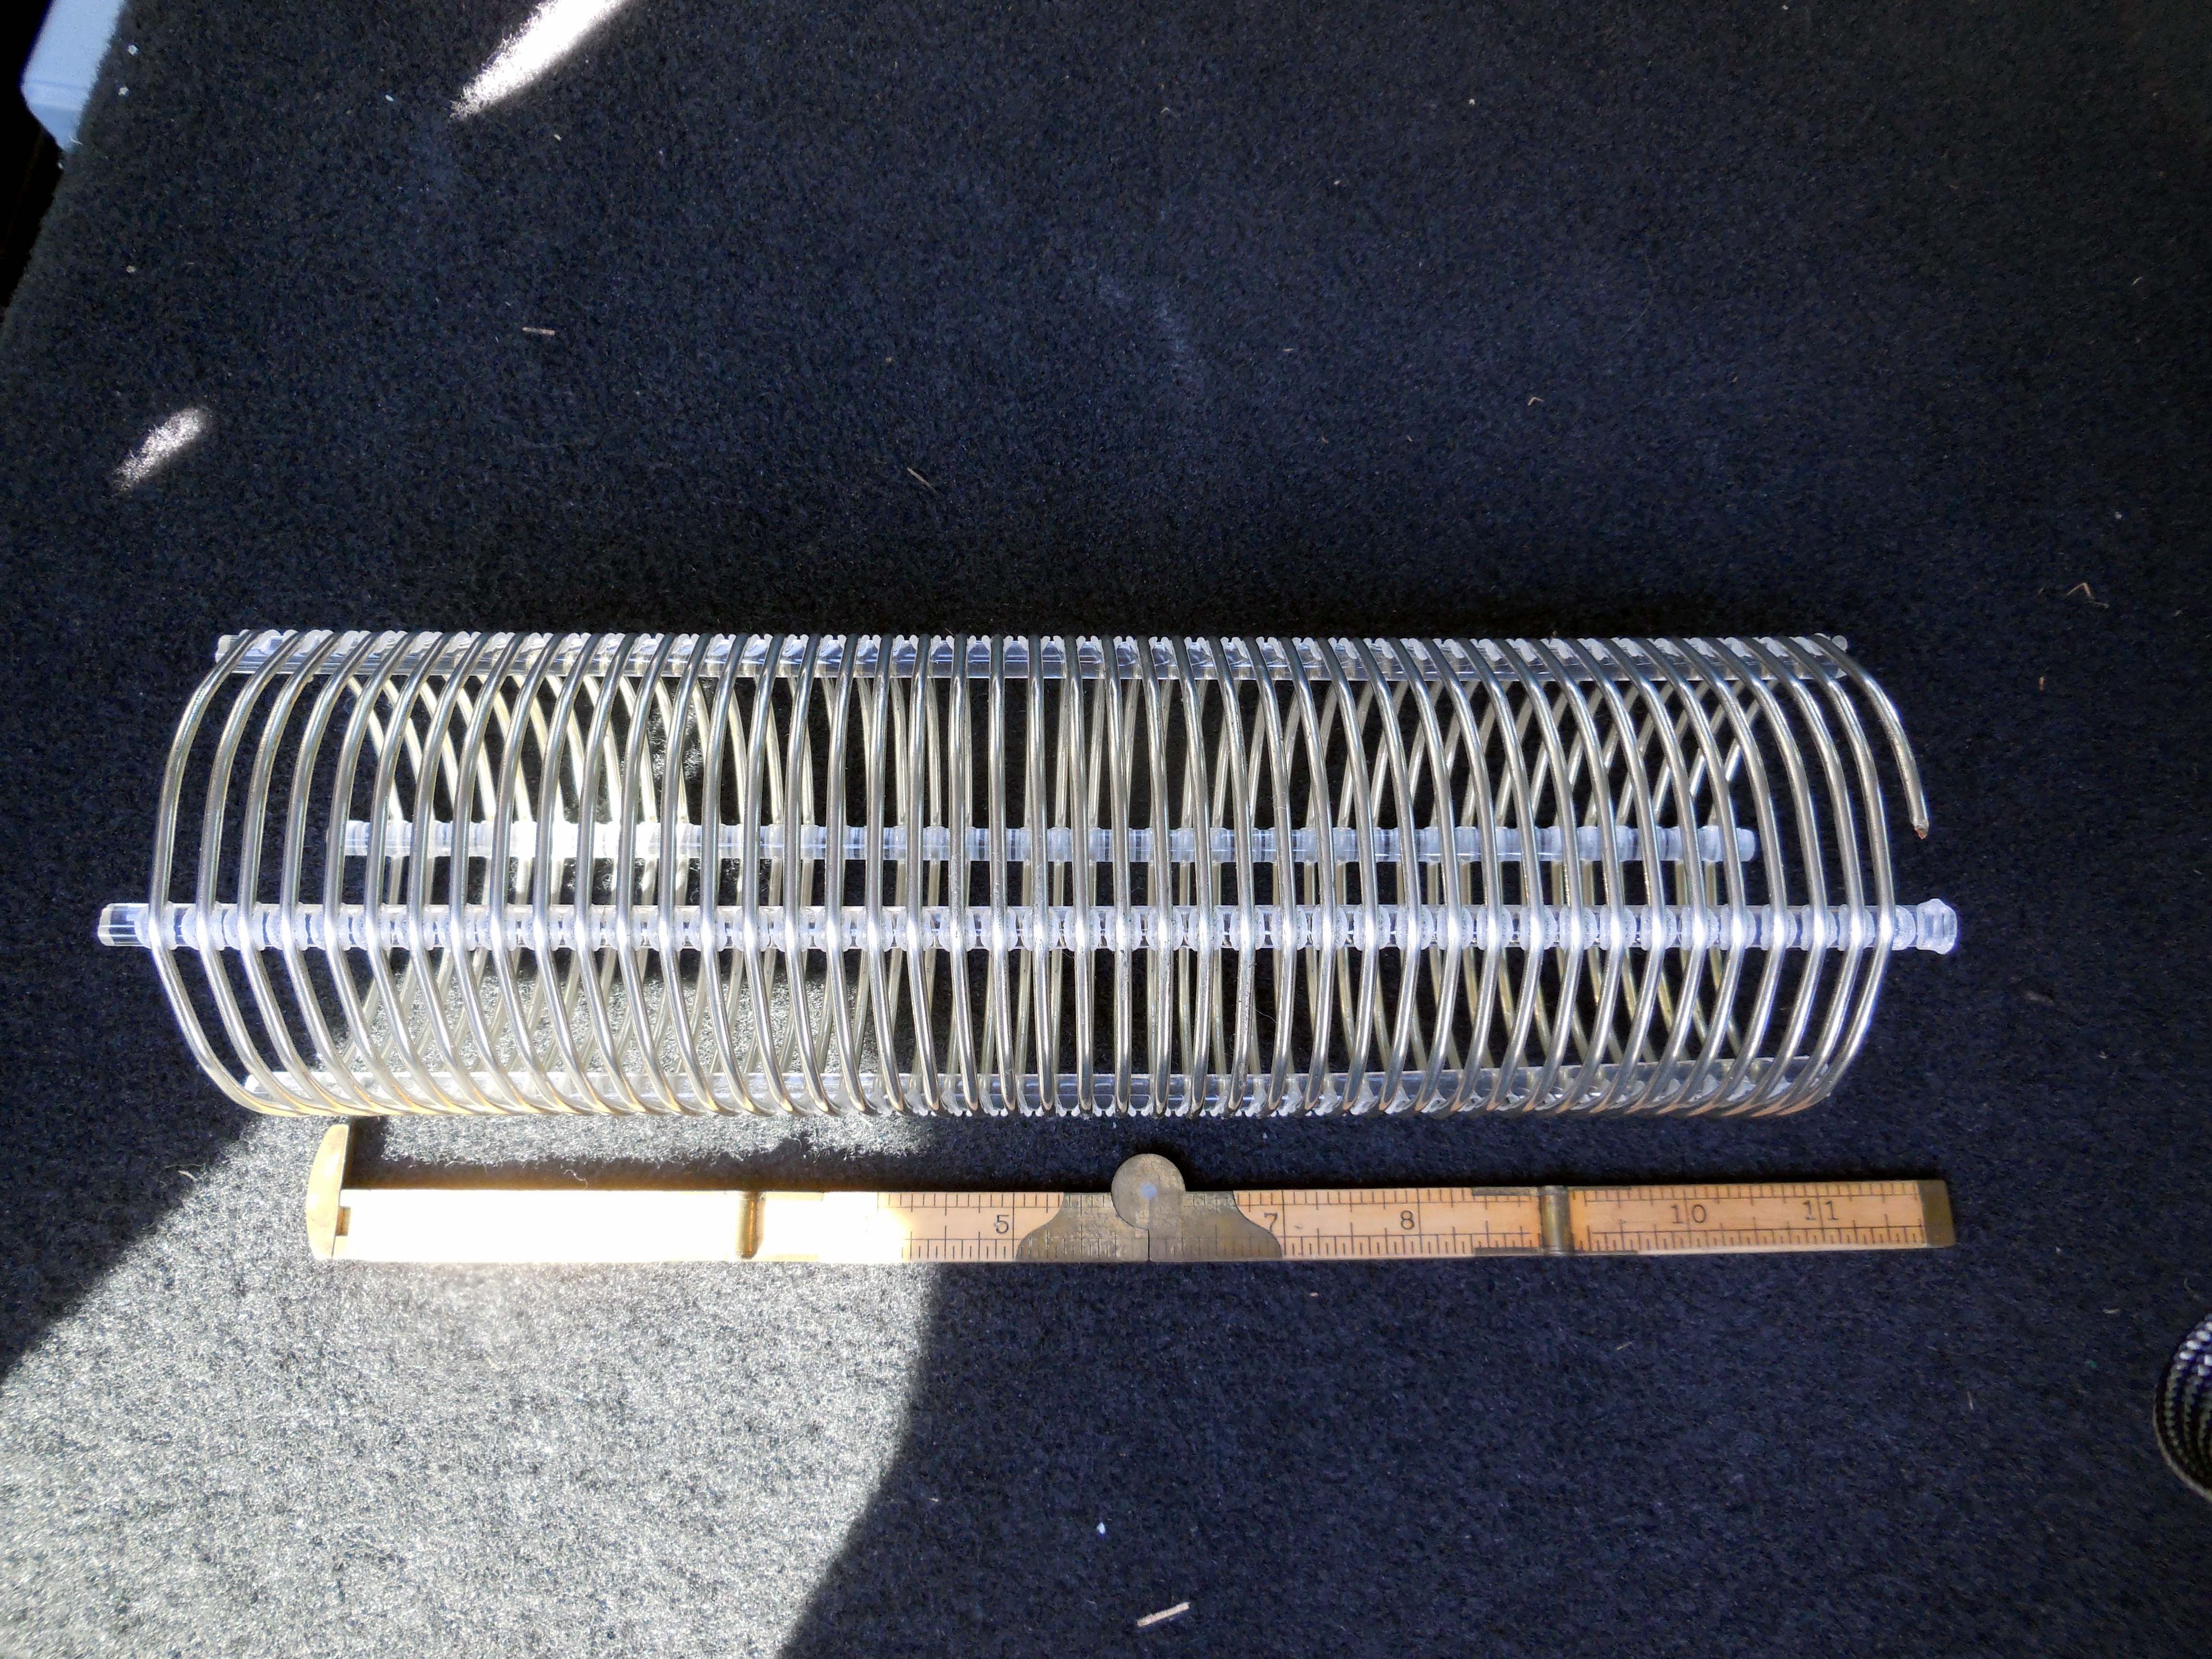
160 Coil
Ok, the coil is here, 11 inches by 3 inches, 4 turns per inch.
It only took a few days to get it from MFJ.
I still needed to clean the glue off the coil where somebody taped on the part sticker.
You need to be careful if they do this to you, you can remove the silver coating from the coil.
I may put on 4 or 5 taps. If I do I will need a switch. Also maybe a Plexiglas box around the coil and switch.
Good thing that Pacificon 2014 has a swap on Saturday.
The piece of Plexiglas that I'm going to use is on the left, it is 3 by 14 inches and 1/2 inch thick.
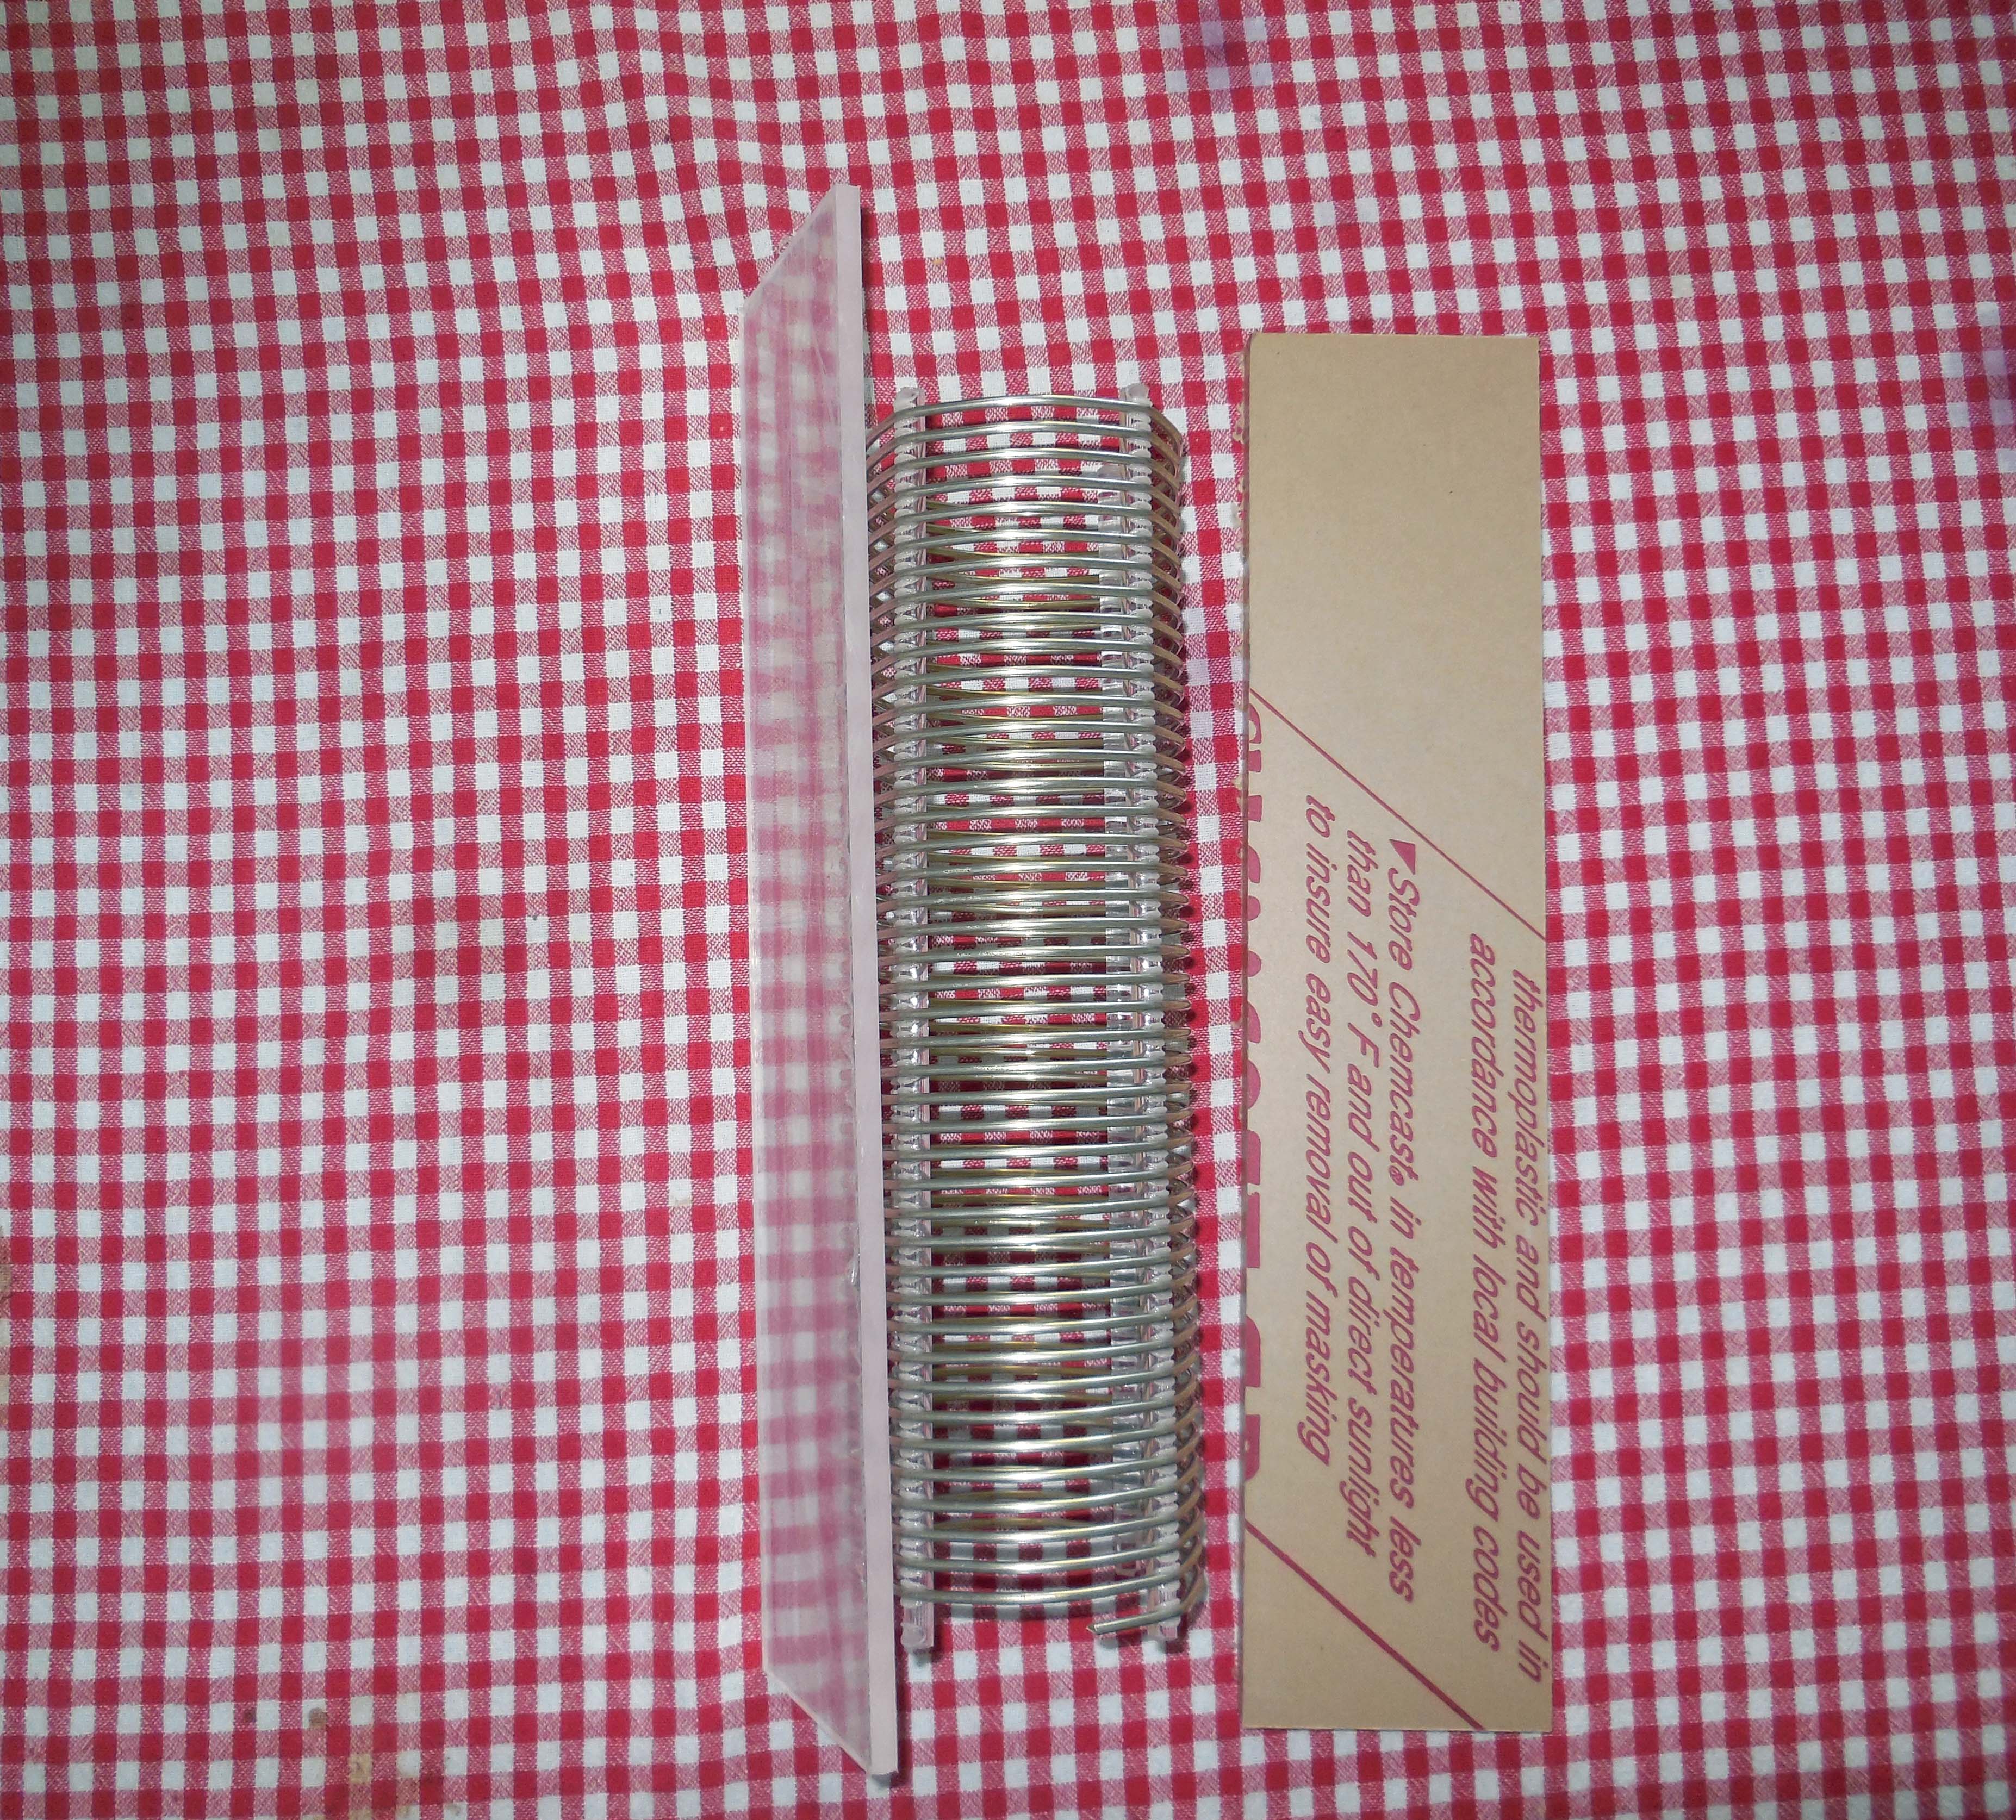
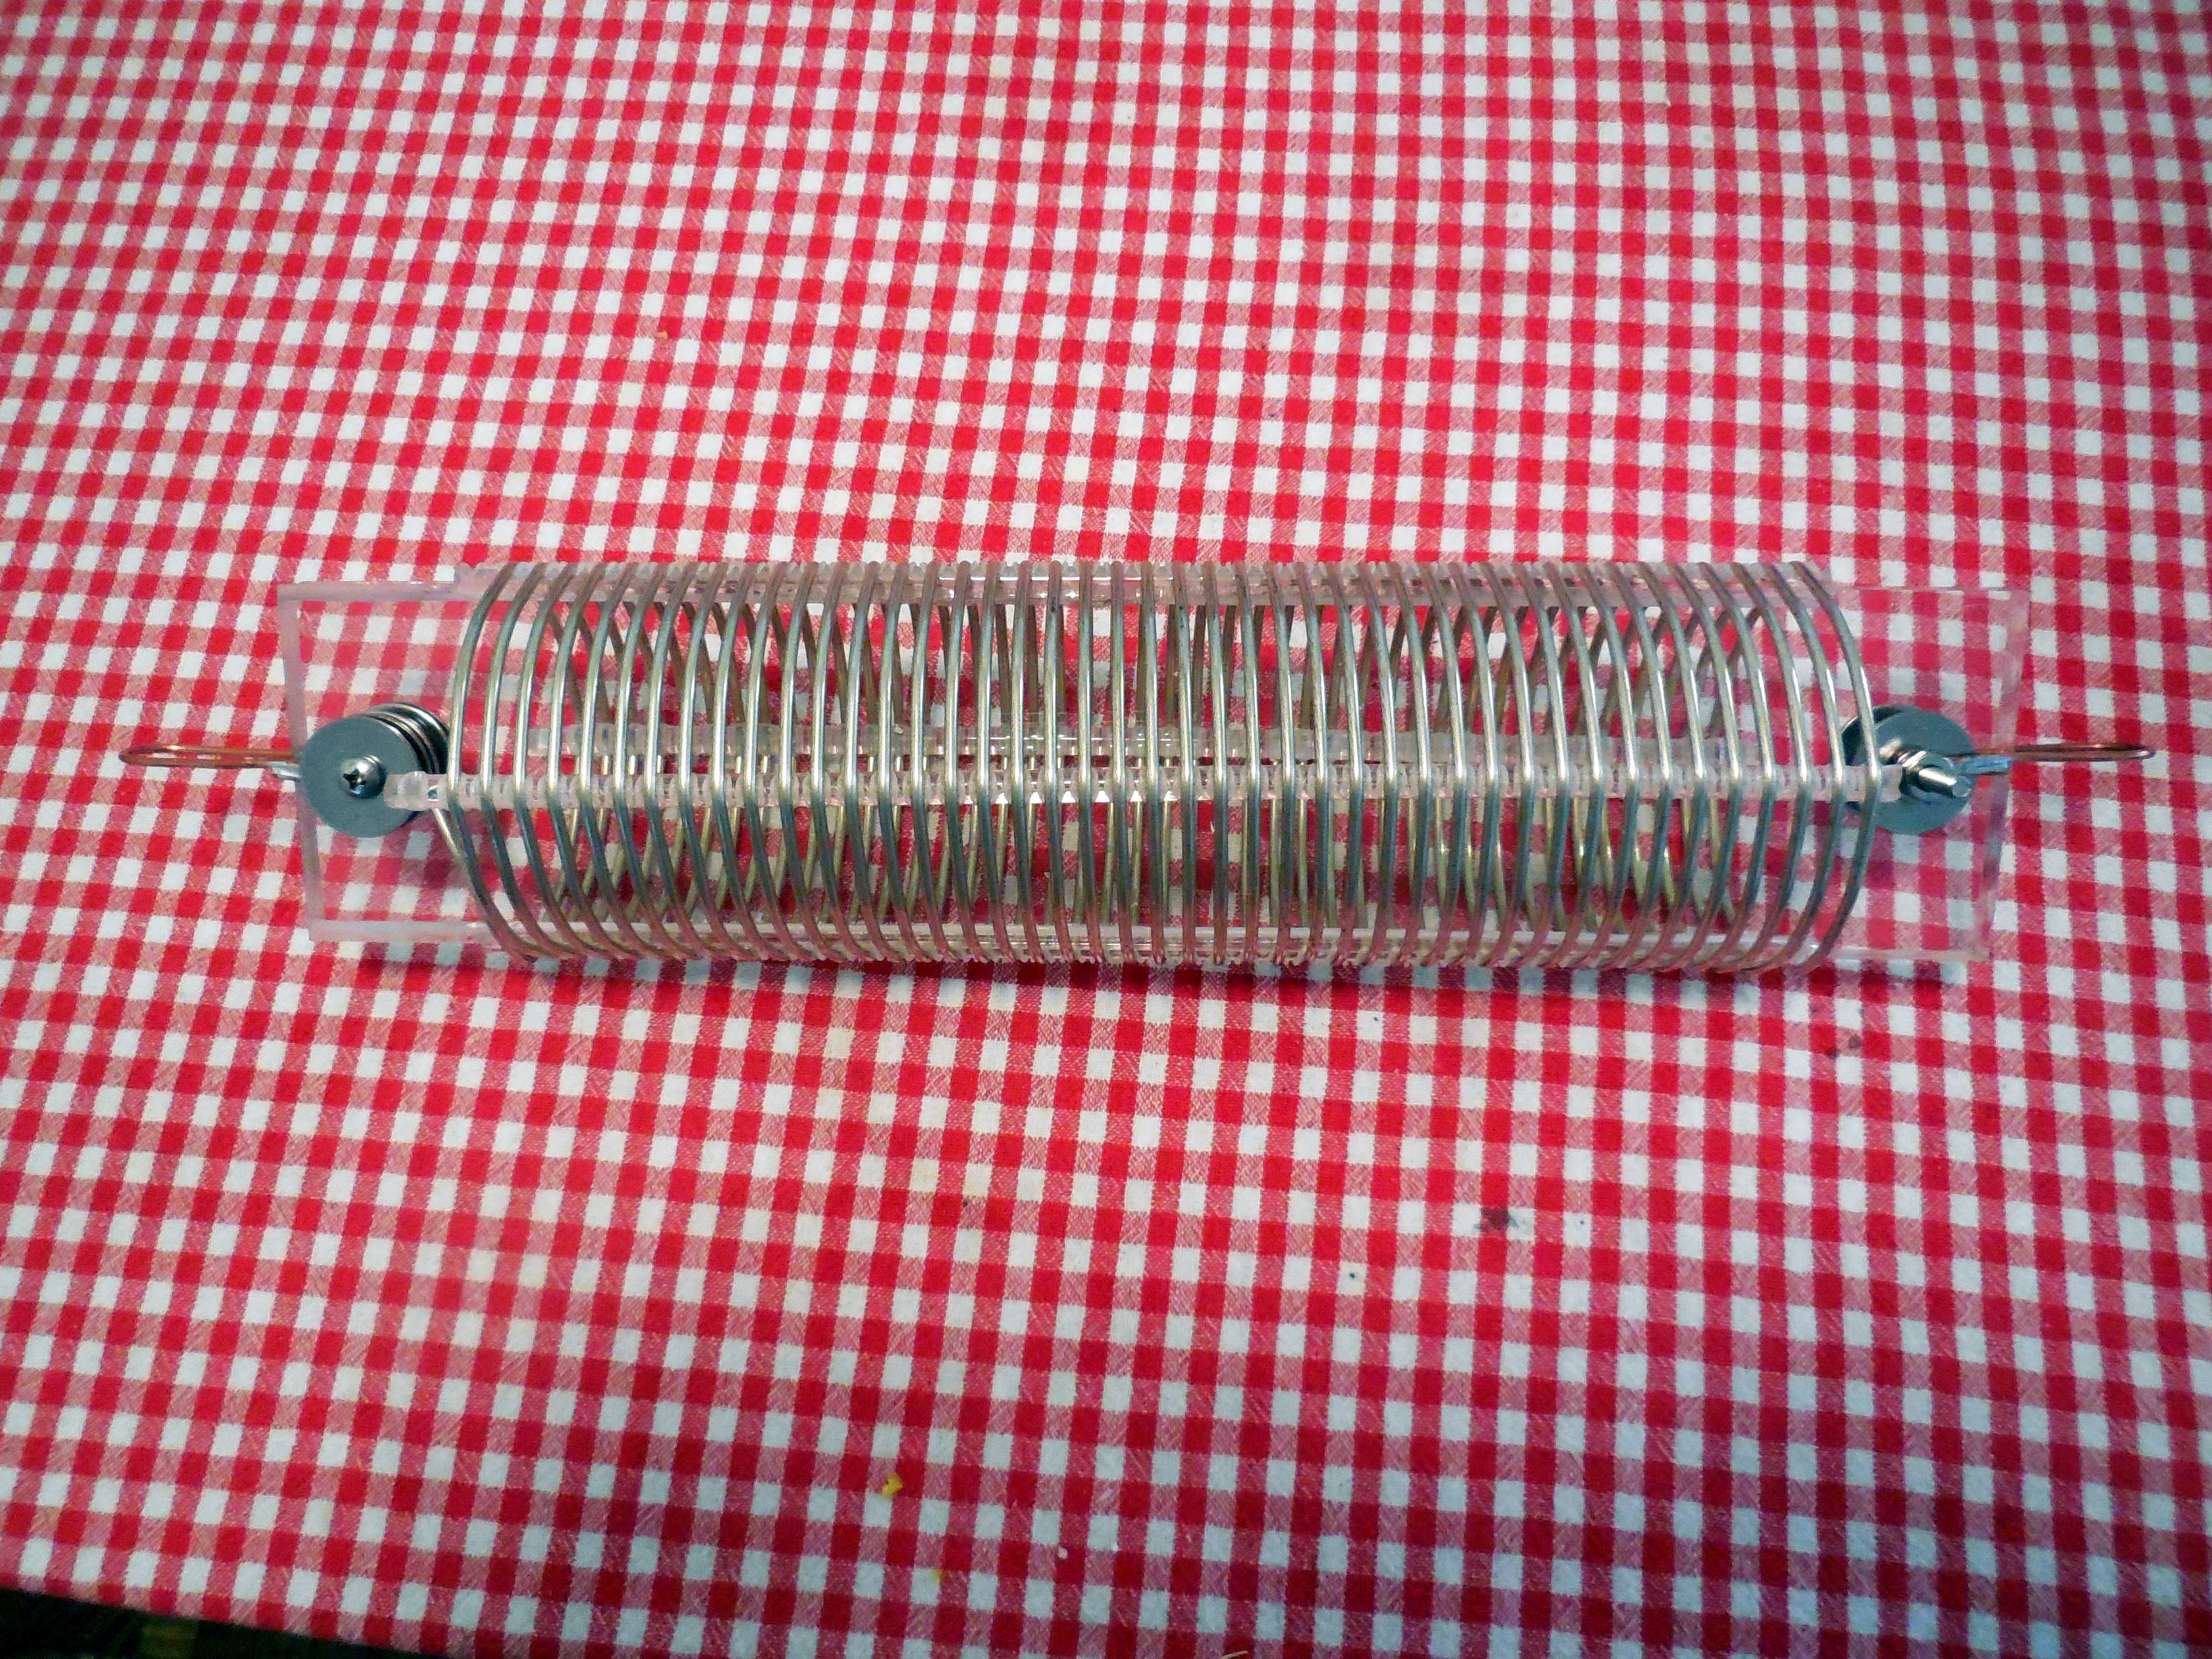
Now all I need to do is mount the coil onto a piece of Plexiglas.
To do this I will need to route the sides of the Plexiglas with a 1/4 round nose bit and slide it inside the
center of the coil. Add a little acrylic glue and Walla, one 160 meter load coil
Oct 1, 2014
I routed the edge of the Plexiglas for the coil to slide into.
Now I need to wait for the rain to quit and I will install the 160 coil.
Nov. 19, 2014